
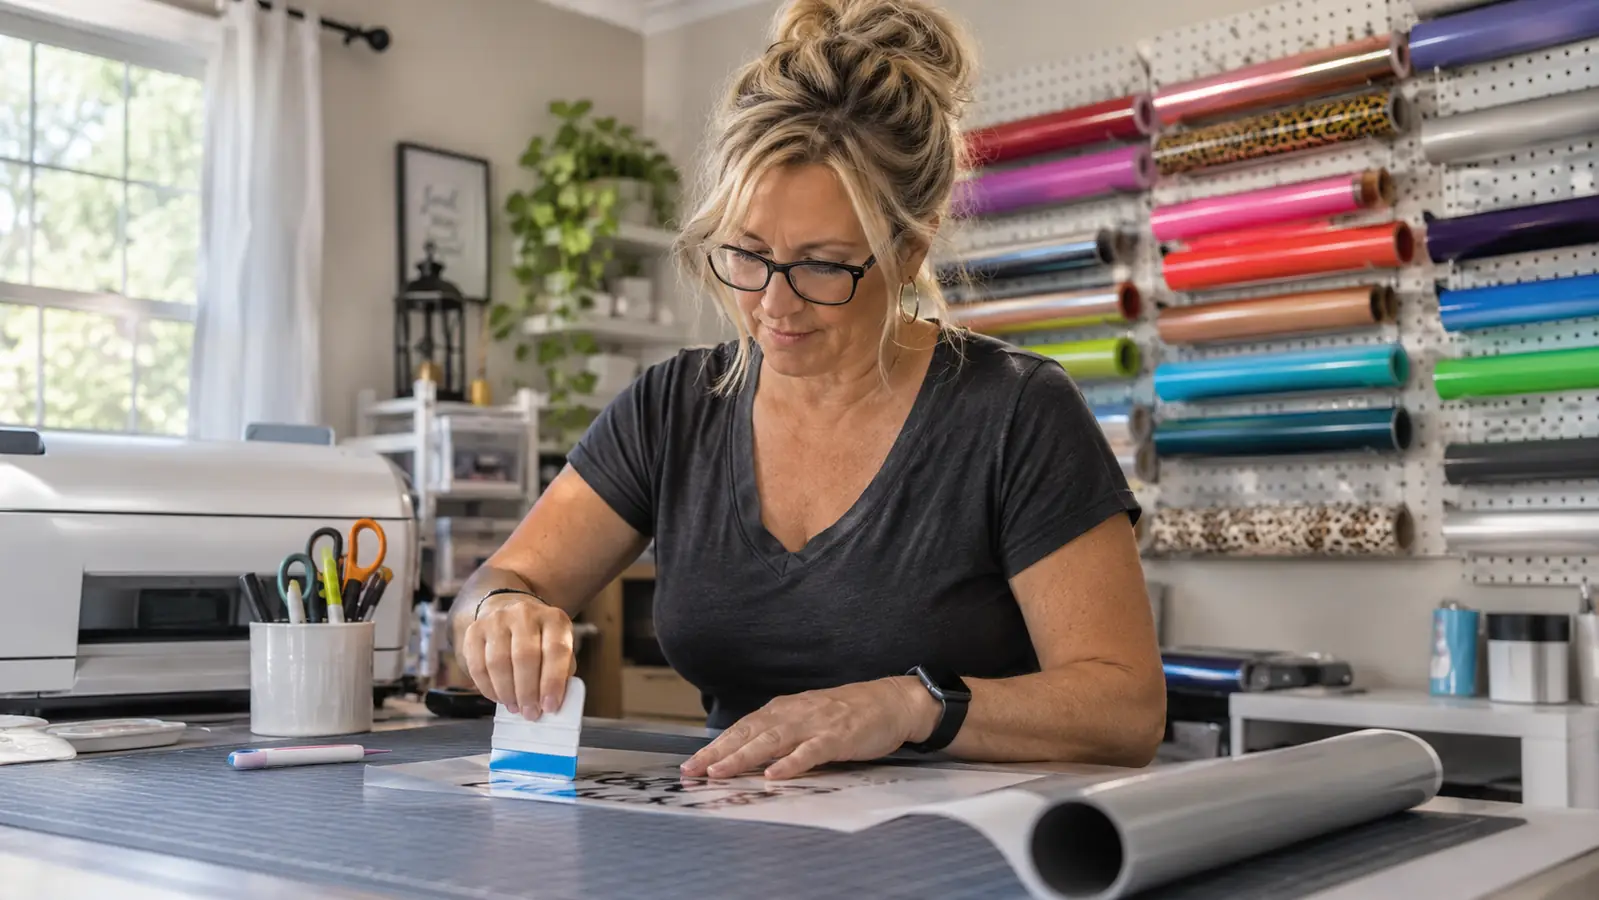
The first decal I ever put on a plastic storage bin came out with a rash. Eleven little blisters across a six-inch monogram, all of them my own doing. I had smoothed it with the flat of my hand, rushed the transfer tape, and pressed down on trapped air like that was going to help. Four years of cutting vinyl at my spare-bedroom table later, the thing I actually changed was the order I do things in. Not the machine. Not the design. The order.
So when someone at the Saturday market picks up a decal and asks how I keep them flat, this is what I tell them. Bubbles are almost never the vinyl's fault. They come from backing that peels faster than the squeegee can follow, from a thumbprint left on the surface, or from pressing before the decal is sitting where you actually want it. The roll I use for nearly all of it is Frisco Craft Glossy White Permanent Vinyl, 12 inches by 30 feet, a waterproof and fade resistant permanent vinyl with a glossy face. Once you stop fighting it, it does what permanent vinyl is supposed to do. Here is the five-step order I use, with the machine settings printed on the listing so you are not guessing at them.
The roll that cuts clean at the settings below
Frisco Craft Glossy White Permanent Vinyl, 12 inches by 30 feet, waterproof and fade resistant, with an adhesive backing that releases without a fight. Most of the fight is technique, and the five steps below are the technique.
Amazon Check Today's Price on Amazon →Step 1: Clean the surface, then stop touching it
Vinyl sticks to clean, smooth, non-porous material and to almost nothing else. The listing recommends plastic, and that matches what I see at my table: plastic bins, plastic sign blanks, plastic storage crates, the smooth lid of a tote. Wipe the whole area with isopropyl alcohol on a lint-free cloth, let it flash off for a minute, and then do not run your hand over it to check. Your fingers put oil back on the plastic, and that oil is exactly where a bubble or a lifted corner will start three days later.
Texture is the other thing to check before you cut anything. A smooth plastic surface gives the adhesive full contact. A pebbled or powder-coated surface gives it maybe half, and half is where edges lift and water gets in. Hold the piece at an angle to a window. If you can see a grain, plan on a shorter life for that decal and consider a different blank.
Dust is the quiet problem. I keep a lint roller at the end of the table and roll the surface after the alcohol dries. On the bins I take to market, that one pass has done more for how the decals hold up than any change I ever made to my cutting.
Last October I cut forty small name decals in one evening and did the first twelve without rolling the surface first. Two of those twelve lifted along the bottom edge inside a week, both on the same run of plastic bins I had wiped down that morning. The alcohol had cleaned them fine. My hands put the oil back while I lined up the design. I recut four, rolled every remaining blank before touching it, and none of the other twenty-eight have lifted since. That single pass with a lint roller is now the last thing I do before a decal leaves the table.
Step 2: Cut at the published settings, then test on a scrap
The manufacturer publishes settings, and there is no reason to invent your own. On a Cricut, blade standard and Setting Iron On. On a Silhouette Cameo, blade 1, speed 3, force 6, 2 passes, material Smooth. Write those on a sticky note and put it on the pegboard, because you will forget them the week you switch materials and then spend an hour wondering why the weeding is fighting you.
The roll is 12 inches wide and 30 feet long, so it fits a standard 12 inch mat without trimming. Cut a piece long enough for the design plus an inch of margin on each side. The margin is not waste. It is what lets the transfer tape grab something on all four edges instead of hanging off the end while you try to hold it steady.
Then test. Cut a one-inch square from the corner of the same piece, weed it, and look at the cut line. If the vinyl tears or stretches while you weed, the blade is dull or the pressure is low. If the blade cuts through the paper backing, back the pressure off, because a cut liner tears under transfer tape and leaves you picking paper off the back of a decal. Frisco Craft cuts cleanly at those published numbers on my machine, but a dull blade will make any vinyl look bad, so the test square is the step that saves the whole sheet.
I keep those test squares taped into a notebook, dated, with the blade and the pressure written underneath. That notebook has settled more arguments with myself than any forum thread ever did. When a cut starts fighting me, I can lay this week's square beside one from March and see the difference in the cut line before I waste a foot of vinyl guessing. If the blade has been in the housing for months of cardstock and white vinyl, it is dull. A new blade plus the published settings is usually the whole fix, and it takes less time than reading three opinions about it.
Step 3: Weed from the middle out and hinge the transfer tape
Weed while the cut is fresh. The liner releases better and the small counters come up without tearing. Start in the center of the design and work outward, and keep the negative weeded material on the table for a minute, because the little islands inside letters are easy to lose and easy to need.
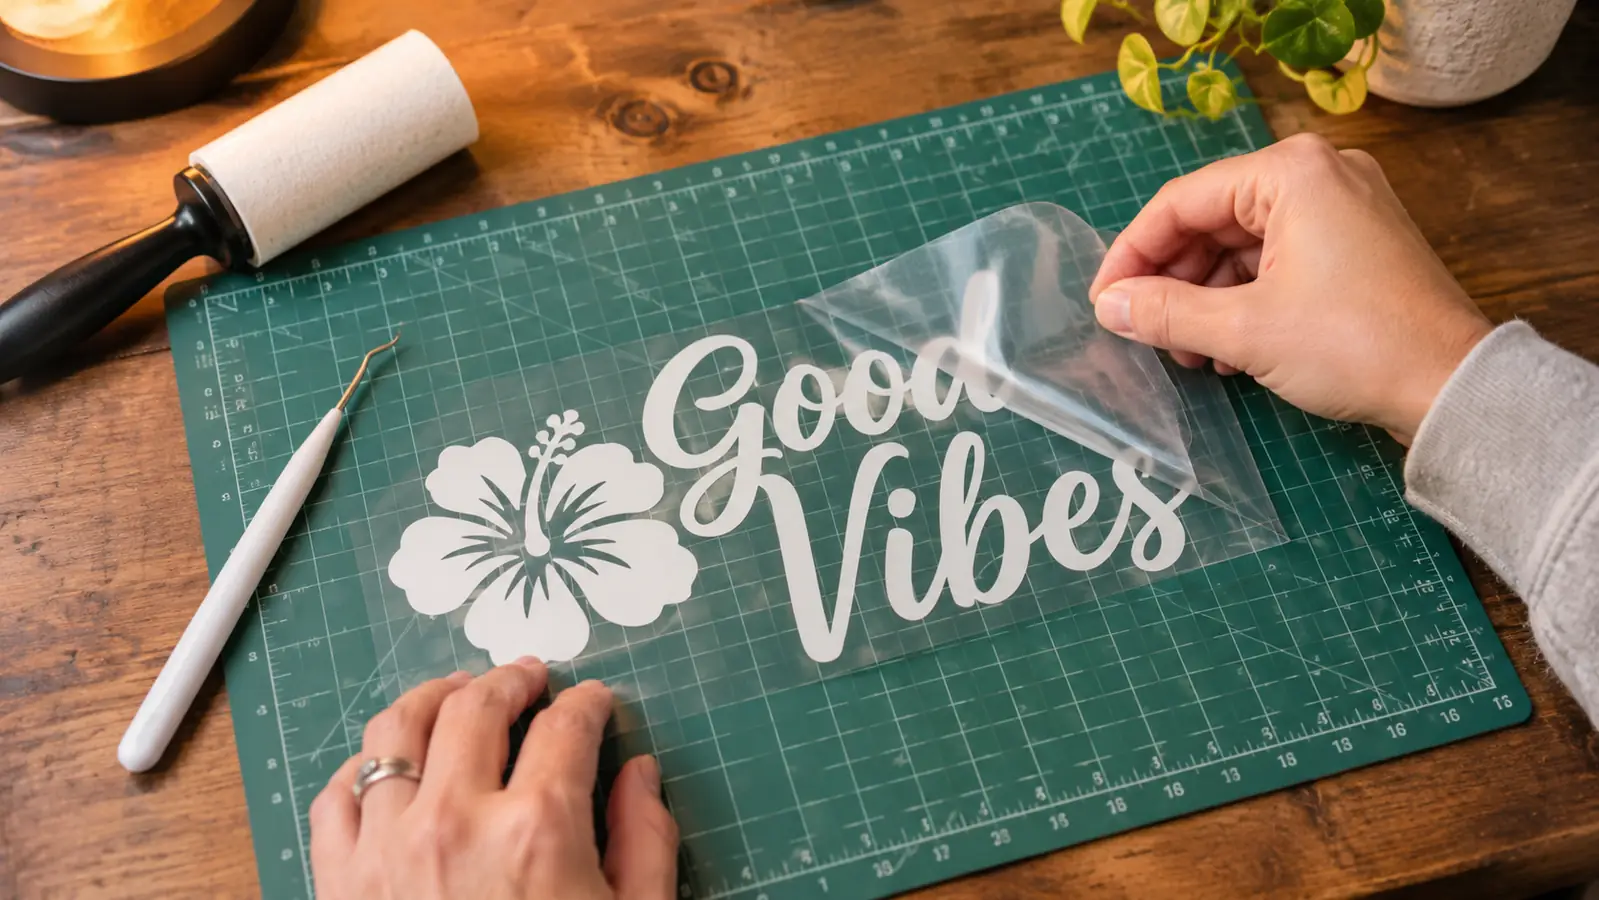
For transfer tape, cut a piece slightly larger than the design and lay it down from one edge, not from the middle. Press it flat with a squeegee moving from the center out, then flip the whole thing over and squeegee the backing side too. Both sides. That second pass is the one people skip, and it is the one that decides whether the decal leaves the backing in one piece.
Now hinge it. Fold the transfer tape back along one straight edge, peel the paper backing away from the vinyl, and fold the exposed sticky edge of the tape down onto your clean surface as a hinge. The design is now attached, aligned, and cannot slide. You have just removed the biggest single cause of a crooked decal, which is trying to hold the thing in the air while you aim it.
Step 4: Apply one inch at a time with a squeegee, not your hand
Lift the hinge, and peel the backing back maybe one inch. Press that strip down with the squeegee, working from the hinge outward. Then peel another inch of backing, and press again. The backing should stay folded back at a low angle the whole time. If you peel the liner away in one long pull, you are asking the vinyl to fall onto the surface evenly, and it will not.
Move the squeegee in overlapping strokes and keep the edge low, almost flat to the surface. A squeegee held at a steep angle pushes the vinyl sideways and stretches it. Stretched vinyl pulls back over the next day, and that pull is what opens edges.
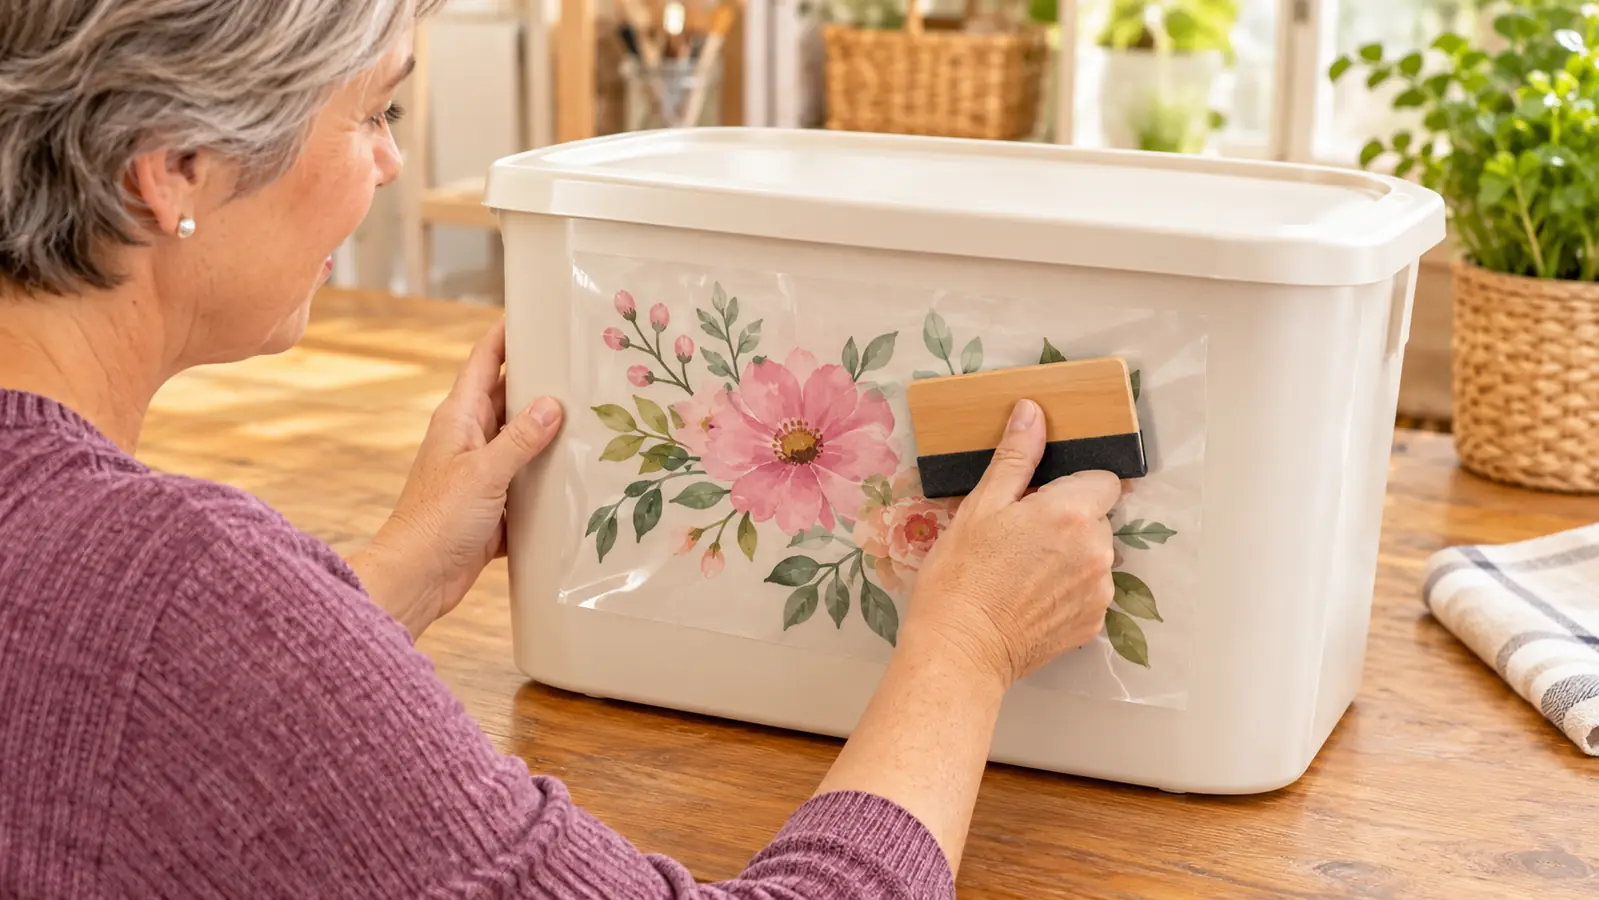
Do not smooth with your palm. Your palm puts down uneven pressure and no real force, which is how trapped air becomes a bubble that gets pressed flat instead of pushed out. The felt edge of a squeegee, or a plastic card wrapped in a scrap of transfer tape, will push air ahead of the edge where it can escape.
Some blanks have a recessed panel with a raised lip around it, and that lip is where a decal wants to bridge and trap air. Set the hinge line on the flat outside the recess, apply into the panel a strip at a time, and let the squeegee follow the panel down instead of pushing across the lip. On a lid with a shallow rim I line the hinge up an eighth of an inch inside the rim and work toward it, so the last strip to go down is the one nearest the edge where I can see it clearly.
Step 5: Burnish the edges, then leave it alone for a day
Once the backing is fully off, go around the whole design again with the squeegee, then run it along every edge and corner with some pressure behind it. Edges are what fail first on a bin that gets handled. A minute of burnishing now is worth more than any repair later.
Then walk away. The listing is specific about this and it matters: do not wash the vinyl with water until 24 hours after it has been applied. The adhesive needs that time to wet out and build its grip. Wiping a freshly applied decal with a damp cloth feels harmless and it is not.
If a bubble does show up in that first day, deal with it before you press it. Small ones often flatten on their own as the adhesive settles. A stubborn one gets a single pin prick at one edge and a firm push toward the hole with the squeegee. Lifting the nearest edge and relaying is the better fix when the bubble sits under a large solid area, and it is less scary than it sounds while the transfer tape is still on top holding everything in line.
What Else Helps
Temperature. Adhesive vinyl likes a warm room and a room-temperature surface. A cold garage in November makes the vinyl stiff, and stiff vinyl does not conform to a curve or settle into a corner. I bring blanks inside the night before a market and let them sit at room temperature, and the difference in how the corners hold is not subtle.
Storage. Stand the roll up on end rather than laying it flat, and keep the last few inches wrapped so dust does not stick to the adhesive edge. A gritty edge picks up grit that transfers to your mat, then to your blade, then straight into the cut line on the next piece.
Timing around a market matters too. Ray and I load the car the night before, and anything going onto a display bin gets its decal at least two days ahead of that, never the morning of. The 24-hour rule is a floor, not a target. A decal that has had two warm days in the spare bedroom is a decal I am not redoing on a folding table with people watching. The ones I apply at the last minute are the ones I hand over with an apology and a note to keep them dry for a day.
Keep a few small things within reach: a pin, a lint roller, a felt-edged squeegee, and a scrap of transfer tape for wrapping a card. Cutting the decal oversized and trimming the waste after it is applied also beats trying to cut to the exact edge, especially on a shape with curves. And keep the negative from a cut until the piece is delivered, because the person who wants one more name in the same font usually asks within the week.
On a curved surface, work the squeegee in short strokes along the curve rather than across it, and warm the vinyl through the transfer tape with your hand before you press. It will follow a gentle curve. It will fight a sharp one, and no amount of squeegee pressure wins that fight.
A bubble is usually a decision you made two seconds earlier, when the liner came off faster than the squeegee could follow.
Twelve inches by thirty feet is a lot of chances to get it right
Waterproof, fade resistant, glossy, and it cuts at the published settings without a fight. If the first piece goes on crooked, you still have thirty feet to try again.
Amazon Check Today's Price on Amazon →