
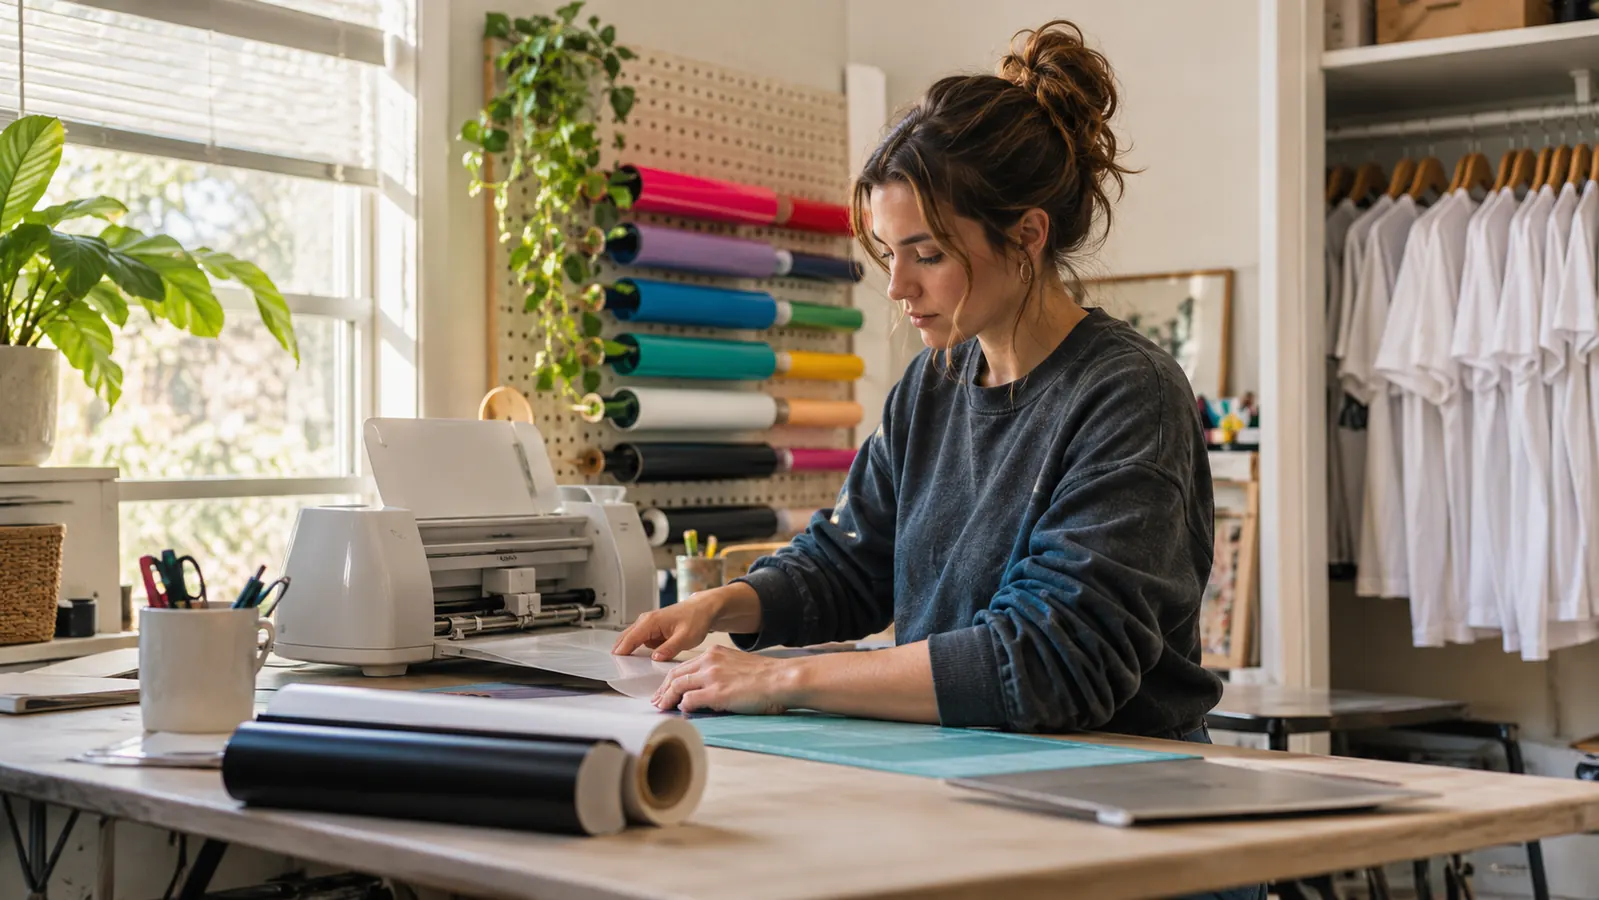
I bought the Cricut Maker 4 in early spring, after four years of cutting vinyl on a machine that did one thing well and everything else poorly. My craft room is a converted spare bedroom with a long folding table, a pegboard wall of vinyl rolls, and a closet shelf stacked with blanks. Most weekends I cut decals for tumblers and car windows, and through the fall I press shirts for my granddaughter's volleyball team and half the church youth group. Vinyl was never the problem. It was the leather, the basswood, and the heavy card stock that kept sending customers away from my table because I could not cut them.
The Cricut Maker 4 is the machine I landed on, and it has held a permanent spot on that table for seven months now. That is long enough for the novelty to wear off and the honest questions to set in. Does it earn the space it takes up? Does it jam under load? Would I buy it again knowing what I know now? I have run several hundred cuts through it since then, and this is the version of the review I would give a friend standing at my craft table with a sheet of material in her hand.
The Quick Verdict
A genuinely capable cutter that handles the thick materials my old machine stalled on, held back by a wide footprint and a Design Space learning curve that will cost you a few evenings.
Amazon Check Today's Price →The Machine That Stopped Limiting What I Could Cut
Seven months of steady use, 300+ supported materials, and a fine-point blade in the box. Check the current bundle contents and today's price before you decide.
Amazon Check Today's Price on Amazon →How I've Used It
None of this happened in a testing lab. I cut on a folding table in a spare bedroom under a lamp that is not quite bright enough, and I cut the files a small table actually needs: name decals, tumbler wraps, window stickers, and a run of heat transfer vinyl for jerseys. About two thirds of my cutting is adhesive vinyl. The rest is card stock, sticker paper, labels, and a slow, careful experiment with basswood that I will get to in a minute.
A normal week runs ten to fifteen small jobs, which means loading and unloading material dozens of times. Repetition is where a machine shows its real character. The Cricut Maker 4 has been steady through all of it. I have not had material feed in crooked and drift halfway through a cut, and I have not had to re-cut a file because the path wandered. When you are cutting twenty name decals for a team, that reliability is worth more than anything printed on the box.
One Saturday in October makes the point better than any description does. Nia's team took twenty-two jerseys, each with a two-digit number and a last name across the shoulders. I ran them in five batches across two afternoons, reloading the mat every time the machine finished a sheet, and Ray pressed while I weeded. The job that would have eaten a full weekend on my old setup was folded and bagged before supper on Saturday, and nothing had to be re-cut.
The thing I did not expect is how much of the work happens before the machine moves at all. Design Space is where a file gets built, sized, and arranged, and the machine simply executes what you hand it. If you have used a Cricut before, that rhythm is familiar. If you have not, budget your first two weeks for the software rather than the hardware, because the software is where the frustrating hours live.
What the Maker 4 Handles That My Old Machine Would Not
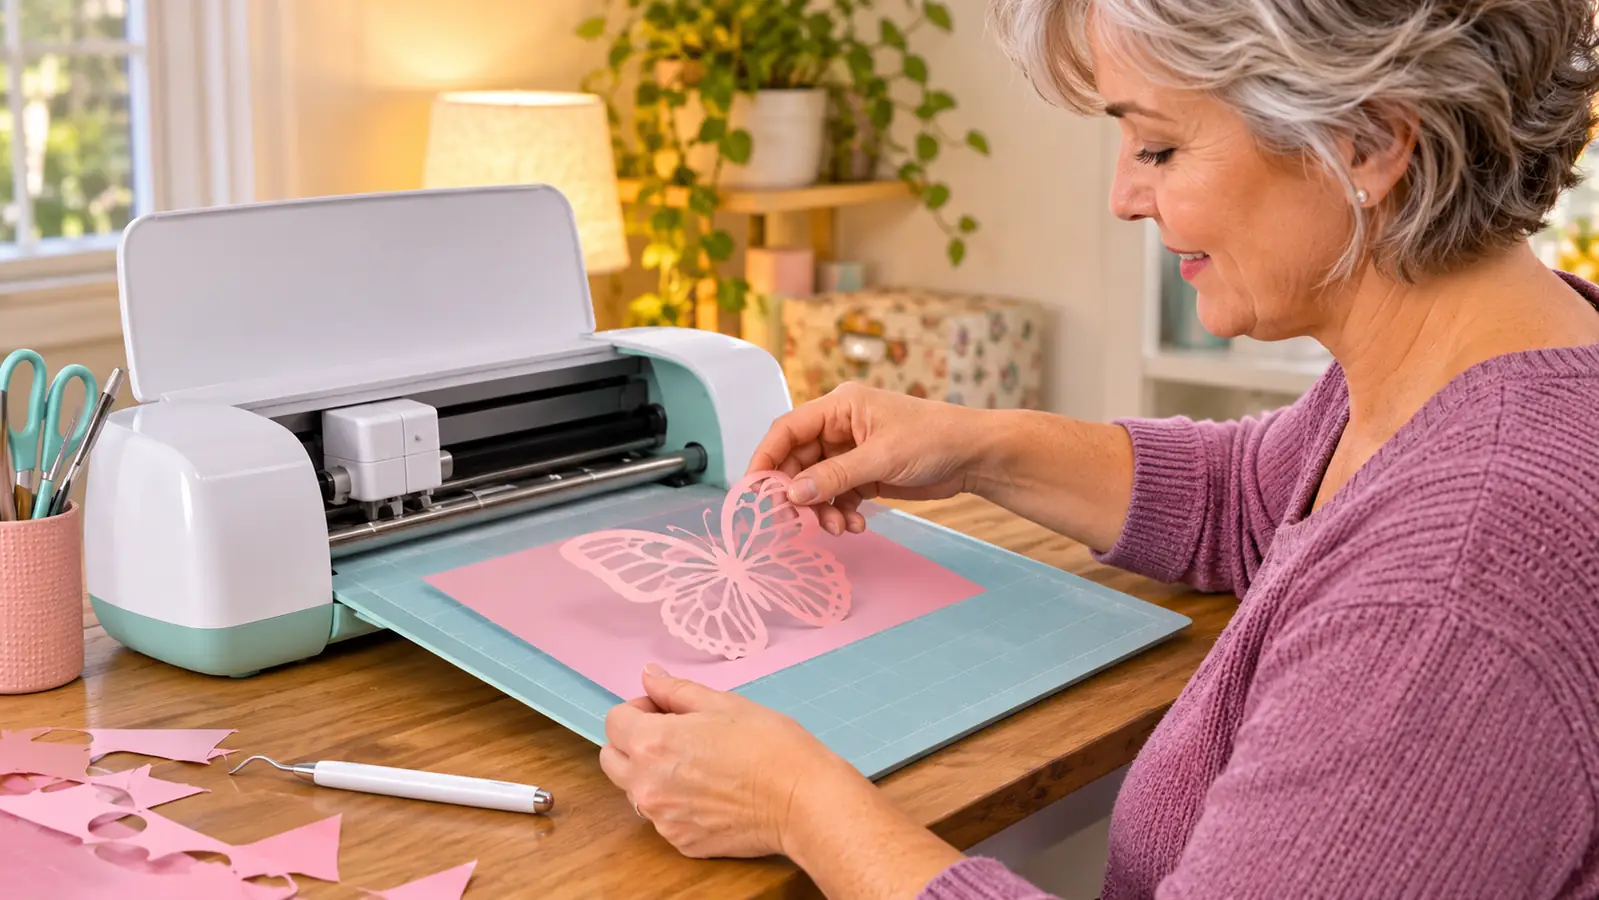
The listing says 300+ materials, and my honest reaction to that number was skepticism, because the word materials gets stretched by every brand that uses it. What I can tell you is what actually went through my machine without complaint: adhesive vinyl, heat transfer vinyl, card stock up to a heavy weight, sticker paper, and basswood. The basswood is what sold me. My old machine would chatter and stall on it. The Maker 4 went through it at a steady pace, and the cut lines closed cleanly enough that I did not have to sand the edges before staining.
The wood I feed it is thin basswood cut into blanks about four inches by six, the size that finishes as a gift tag or a small ornament. One blank runs in a few minutes, which is slow enough that I only cut them when I have half a dozen to do at once. The first blank I tried, I laid it down without anchoring the corners and it shifted a hair near the end of the cut, ruining the outline. A strip of tape at each corner fixed it, and every blank since has come out square enough to sell.
Leather is where I am still cautious. The bundle includes the fine-point blade, which is the right tool for vinyl and paper and the wrong tool for leather. That is not a flaw in the machine. It is a fact about what comes in the box. The machine supports the material and you supply the blade, and plenty of people will read 300+ materials and assume everything they need is included. It is not, and knowing that before your first project saves a wasted afternoon and a ruined piece of leather.
The footprint deserves a paragraph because it is the thing most reviews skip. It measures 22.1 inches wide, 7.1 inches deep, and 6.2 inches tall. Twenty-two inches is wide. On a long folding table it is fine. On a narrow desk it is a commitment, and you want clearance in front of and behind the machine so material can feed and exit without hitting a wall or a stack of blanks. I gave up a permanent corner of my table and I do not regret it, but I measured first.
What Is Actually in the Box
The bundle is the machine, a fine-point blade, and a materials sampler with Smart Vinyl, matless vinyl, Smart Iron-On, and a heat transfer sample. There is also a free content library with 3,000+ images and 100+ fonts, which I leaned on more than I expected to. For a first month of learning, that is genuinely enough to keep you busy without buying anything else.
What it is not is a starter kit for a small table. A sampler is a sampler. You will run out of the material you like within a couple of weeks, and the one you run out of first is never the one that came in the box. My advice is to cut the sampler pieces on projects you do not care much about, learn what the machine does with each one, and then order full rolls of the two or three materials you will actually use every week.
Print-Then-Cut, Which I Ignored for Two Months
For the first two months I ignored Print-Then-Cut entirely. I filed it under stickers, and stickers were not what my market customers asked for. Then Nia wanted name labels for her water bottle and her school binder, and I tried it because cutting letters that small by hand would have been miserable.
Print-Then-Cut sends a full-color design to an inkjet printer, and then the machine finds the printed artwork and cuts around it. It is compatible with inkjet printers, not laser, which matters if the printer in your house is the other kind. On small, detailed shapes where individual letters would be a nightmare to weed, it is genuinely better than cutting from scratch. I made a full sheet of labels in about the time it would have taken me to set up the first one by hand.
The catch is paper choice and drying time. Wet ink smears under a blade, so I let prints sit for ten minutes before they go near the machine. Sticker paper that is too thin will curl at the edges after cutting. I lost a sheet or two learning that. Once I settled on a heavier sticker paper, the results were clean enough to sell at the Saturday market, and that surprised me more than anything else about the machine.
A full letter-size sheet of labels, printed and cut, now takes me about twelve minutes start to finish, and most of that is the printer and the waiting rather than the cutter. The very first sheet I ran, I peeled it up too early and dragged a wet corner of ink straight across a finished design. The fix was not a setting. It was a timer in my head and a spot on the closet shelf where the sheet sits while I weed something else.
The basswood is what sold me. My old machine would chatter and stall. This one went through it at a steady pace, and the cut lines closed cleanly enough that I did not have to sand the edges.
Where It Fights Back
Two things irritate me and neither is a dealbreaker. The first is the software. Design Space is where the real work happens, and it is not a program you learn in an afternoon. Text spacing, weld versus attach, and the difference between a cut and a score are all things I had to look up twice. Seven months in, I am fast. The first three weeks, I was not, and I said a few unkind things to my laptop.
One Thursday evening sticks with me. I had a two-line name decal that kept coming off the mat as two separate pieces, and I could not see why, because on screen it looked like one design. Forty minutes of reopening the file, nudging the text, and re-cutting scrap material before the word weld turned up in a help thread. It cost me a little vinyl and a fair amount of pride, and I have not made that mistake since.
The second is the blade situation. One fine-point blade in the box is enough to learn on and not enough to run a table. The promise of 300+ materials quietly assumes you will keep buying the tooling that matches, and that is a real ongoing cost of ownership beyond the machine itself. I would rather a review tell me that than let me find out in month two with a project half finished.
Neither of those is a reason to avoid it. They are reasons to go in with clear eyes. A cutter is a system, and the machine is one part of that system.
What I Liked
- Cuts materials my older machine stalled on, including basswood and heavy card stock
- Steady feed. I have not had material slip and produce a crooked cut
- Print-Then-Cut with an inkjet printer makes small, detailed labels genuinely practical
- Free content library with 3,000+ images and 100+ fonts covers a lot of everyday jobs
- Only 7.1 inches deep, so it does not eat the whole depth of a table
Where It Falls Short
- Only the fine-point blade is included, so leather and heavier work need extra tooling
- 22.1 inches wide takes real table space and needs feed clearance front and back
- Design Space has a real learning curve that has nothing to do with the machine
- The materials sampler is a sample, not a starter kit for steady production
What It Has Actually Changed in My Work
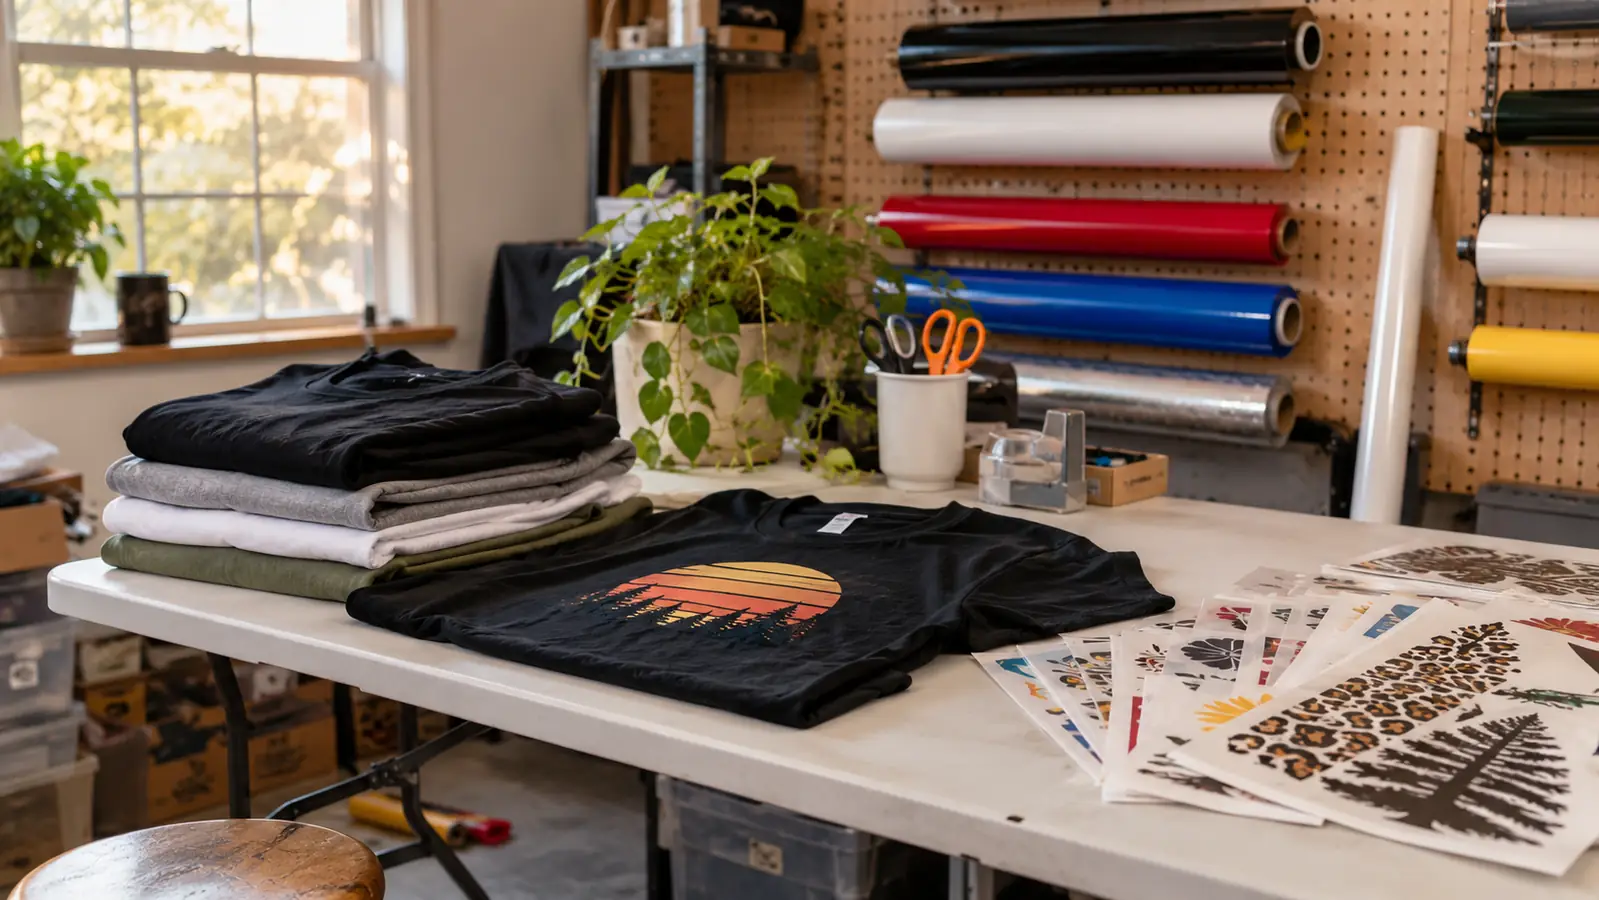
The practical change is that I stopped saying no. Before, when someone at the market asked for a leather patch or a thick card stock tag, I redirected them to vinyl because I could not cut anything heavier. Now I take the order. Written down, that is a small thing. When you are the one turning work away at a table on a Saturday morning, it is a fairly large thing.
The other change is repeat jobs. Once a file is built and saved, running it again is quick, and I can start a cut and trim the previous job while it runs. That is not something the listing advertises. It is just what happens when the machine stops being the slowest part of your afternoon. On a run of twenty jersey numbers, the difference between my old setup and this one was not marginal.
What I Would Do Differently Starting Over
Three things. First, I would measure the table and clear the feed space before the box came in, not after. Second, I would cut the sampler materials on throwaway projects so I could see how each one weeds, because weeding technique changes with the material and nobody warns you about that. Third, I would spend an evening in Design Space with no material loaded at all, just building and saving files, so that my first real cut was not also my first time in the software.
The one habit I would keep is writing down settings. Every material I use now has a scrap of paper behind it in a drawer with the setting that worked, and that drawer has saved me more time than any tutorial. A machine that supports 300+ materials also means 300+ chances to use the wrong setting, and the notes are how I stop repeating myself.
Who This Is For
This suits someone who has outgrown a vinyl-only cutter, or who is buying a first machine and already knows they want to work in more than vinyl. If you cut card stock for cards, basswood for ornaments, or leather for patches, the Maker 4 removes the ceiling that stops those projects cold. It also suits a small table where the jobs are varied rather than identical, because the value shows up across the range of materials more than in raw speed on any single one of them.
Who Should Skip It
If everything you make is adhesive vinyl and heat transfer vinyl, you are paying for headroom you will not use, and a simpler Cricut will cut those all day without complaint. Skip it too if you have no patience for software, because the machine is the easy half of the job. And if your work surface is a kitchen counter you clear every night, measure before you buy. Twenty-two inches is a lot of machine to move twice a day.
Seven Months In, It Still Has a Permanent Spot on My Table
If you are ready to cut beyond vinyl, this is the machine that stopped me turning work away. Check the current bundle contents and today's price on Amazon.
Amazon Check Today's Price on Amazon →