
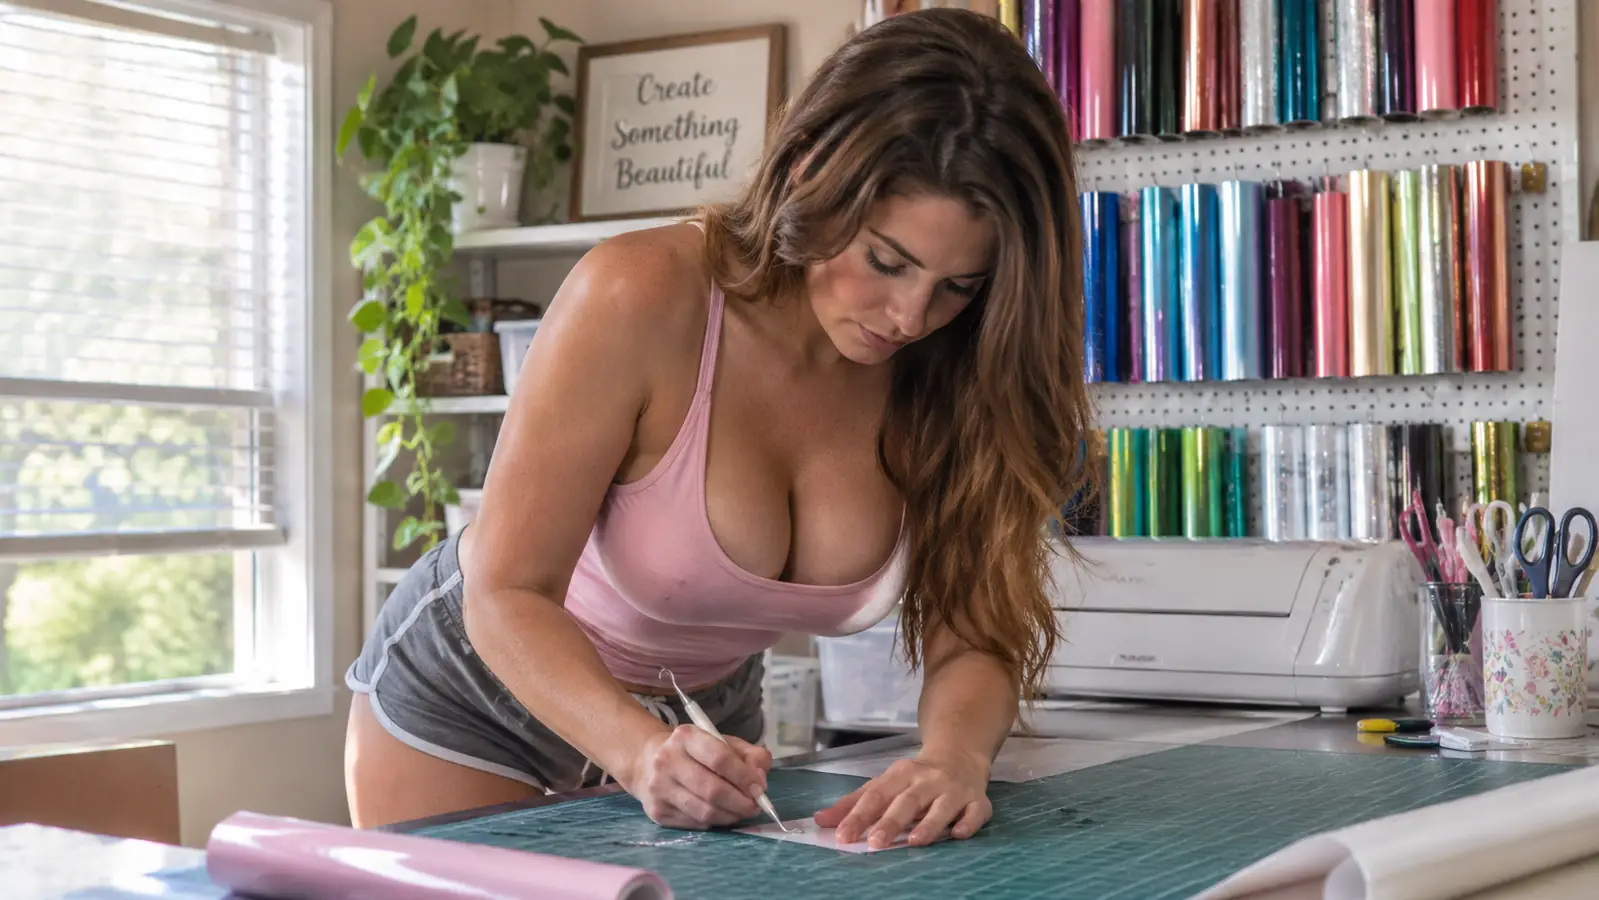
The first time I tried to weed a three-inch volleyball decal for my granddaughter Nia's team, I lost two letters and a corner of the design. The Cricut Basic Tool Set was sitting on my folding table, still in the package. I thought my fingernails were enough. They were not.
Small vinyl is a different job from a big name decal for a tumbler. The pieces are tiny, the backing is tacky, and one wrong pull can stretch a letter out of shape. I learned to slow down and let the tools do the work. The five pieces in the Cricut set are not complicated. They are just better at the small stuff than my hands are, and they keep me from peeling up a letter I meant to leave alone.
The five tools that make a three-inch decal possible
The Cricut Basic Tool Set includes a weeder, tweezers, scissors, scraper, and spatula. I keep all five within reach when a design has letters smaller than my thumbnail.
Amazon Check Today's Price on Amazon →How I Weed a Small Design, Step by Step
Step 1: Cut the design and keep the mat clean
Before any weeding happens, I cut the vinyl. A clean cut gives the weeder an edge to catch. A ragged cut gives me a fight. I use the scissors from the Cricut Basic Tool Set to trim the vinyl sheet down to a workable size, especially when I am cutting a small design from a larger roll. The scissors are small enough that I can steer them around a curve without snipping into the design.
I also keep the cutting mat clear. On my folding table, a stray piece of vinyl or a bit of paper fuzz can stick to the backing and make a small design look messy before I even start. I wipe the mat with my hand and check the corners. Then I place the cut design flat and look at it under the lamp. Small weeding is mostly seeing, not pulling. If I cannot see the cut line, I am already behind.
I also check that the vinyl is stuck to the mat before I cut. A small design can shift if the mat is losing tack. I press the sheet down with the scraper before I send it through the machine. That one pass with the scraper saves me from a cut that is off by a hair.
One evening last winter I skipped the trim and fed a full twelve-inch sheet through the machine for a decal that was only two and a half inches wide. The cut itself was fine. The sheet was not. It was too floppy to handle at the table, it flopped over on the way back, and the backing stuck to itself in two places. I salvaged the decal but lost the rest of the sheet. Now I trim first, every time, even when I am in a hurry.
Step 2: Remove the big negative space first
With small designs, I do not start with the tiny pieces. I start with the big field of vinyl around the design. I peel that away slowly and keep it low to the table so it does not snap back and stick to the design. If the sheet is large, I cut it down first with the scissors. A smaller sheet is easier to control and less likely to fold over on itself.
Here is where the spatula earns its place. I slide the flat edge under the edge of the vinyl sheet to lift it without digging into the backing. Then I use my fingers for the large areas. The Cricut spatula is not a fancy tool. It is just a safe way to get under the vinyl without bending the design. I keep the peeled vinyl pressed to the table with my free hand so it does not curl up and grab the letters I just cleared.
The big peel is also where I decide whether to trim the design apart. If two decals are close together, I cut between them with the scissors so I can weed one at a time. That keeps the unused design from getting stretched while I work.
I also park the peeled sheet under the handle of the spatula while I work. My table sits near the back window, and on a breezy day a curled corner will reach for the design and take a letter with it. That happened on a set of six volleyball decals last fall. Three of them had to be re-cut. Now the waste vinyl goes straight into a small dish instead of sitting on the mat, and the dish stays on the far side of the table where I cannot knock it.
Step 3: Use the weeder for the smallest islands
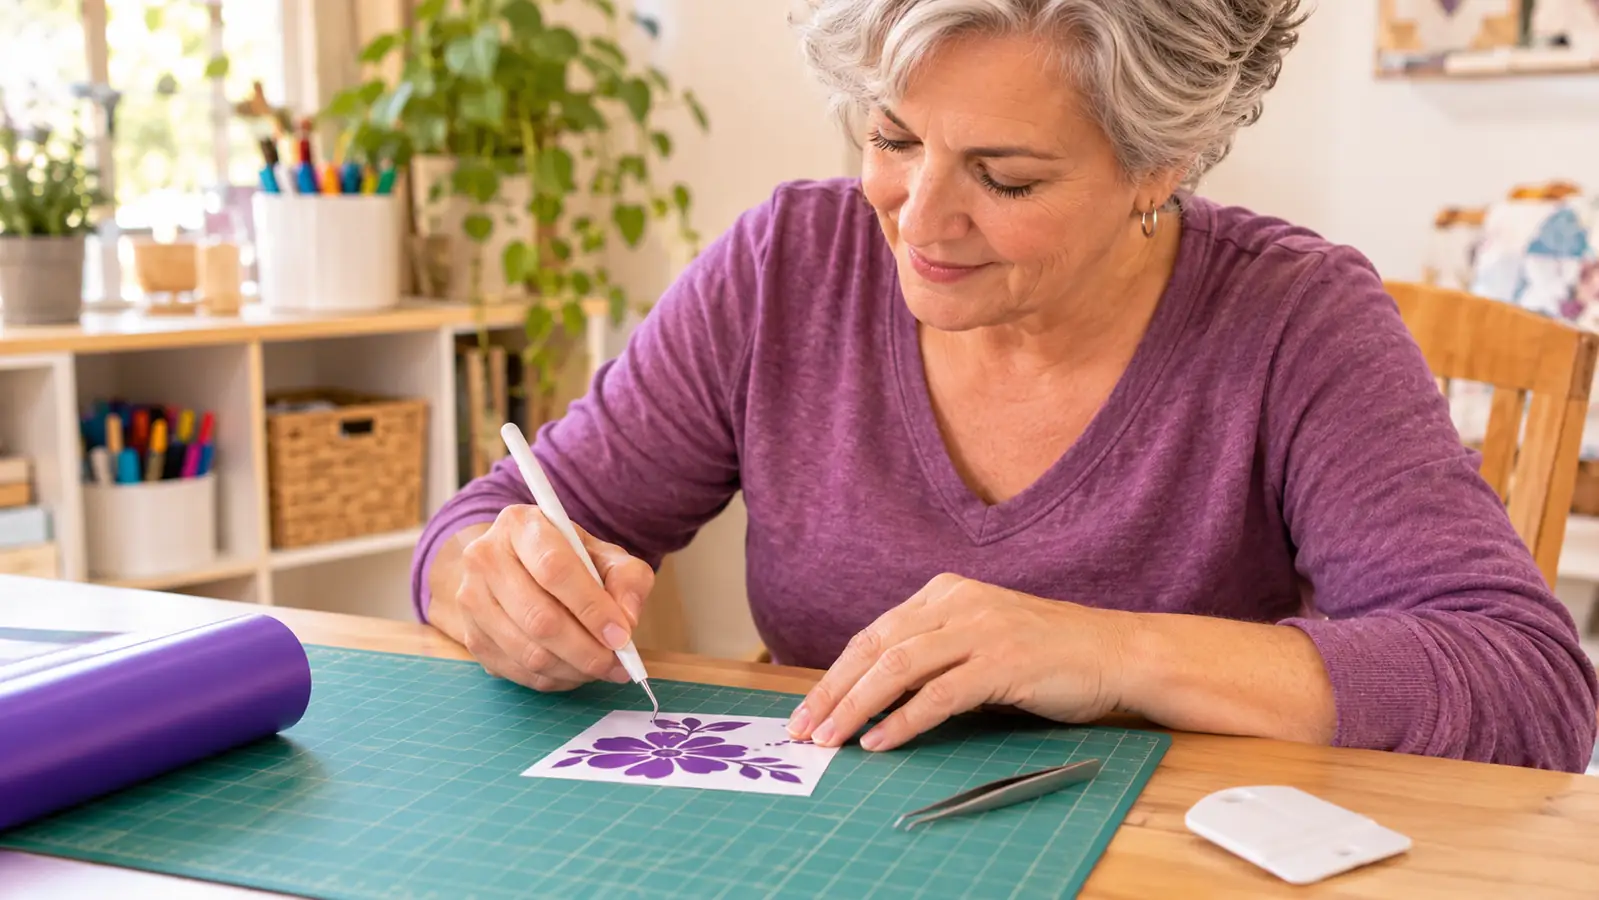
Now I switch to the weeder. I hold the design down with two fingers and bring the weeder in at a low angle. I catch the edge of a tiny piece, lift it just enough to grab it, and pull it away. The trick is to move the vinyl, not the backing. When I pull the backing instead, the design shifts and I lose my place.
I do not stab at the design. That is how I used to stretch letters. I also do not try to clear every dot in one pass. I work in small sections. If a piece will not lift, I leave it for a second and come back with the tweezers. Sometimes the vinyl needs a moment to release, and forcing it only makes a mess.
The weeder is the tool I reach for most on letters, numbers, and small shapes. The Cricut weeder is thin enough to get between two letters without gouging the vinyl. That matters when the space between an 'a' and an 'n' is about the width of a hair. I keep the point of the weeder against the backing, not against the design, and I let the edge of the tiny piece do the work.
There is a limit to how far the weeder will take you. Under about an eighth of an inch, the vinyl tends to tear instead of lift, and a tear in a small letter is the end of that decal. When I hit that size, I stop and look at the design on the screen. Sometimes the honest fix is to thicken the thin line before cutting, not to fight it with a sharper point. I would rather redraw one letter than lose a decal I have already spent an hour on.
Step 4: Switch to tweezers for the pieces you cannot see
Tweezers are for the pieces that are too small for my fingers and too stubborn for the weeder. I use them to pull out the center of an 'e', the dot over an 'i', and the little triangles inside a volleyball. I grip the piece, not the design, and pull straight up. If I pull sideways, I risk dragging the vinyl across the backing and leaving a mark.
The Cricut tweezers also help when a tiny piece flips over and lands sticky side down on the mat. I can pick it up and put it where it belongs without pressing my whole hand into the vinyl. That happens more than I like to admit, especially when the design has a lot of small inside cuts.
I keep the scissors nearby too. If a tiny piece has a long tail of vinyl attached, I snip the tail instead of dragging it across the design. That one habit has saved more decals than any other. The scissors in the Cricut Basic Tool Set are small enough to control at the table, and they cut cleanly through the thin vinyl without pulling the design up with it.
The tweezers are the difference between losing the dot over an i and putting it back where it belongs.
Step 5: Burnish, lift, and apply without stretching the design
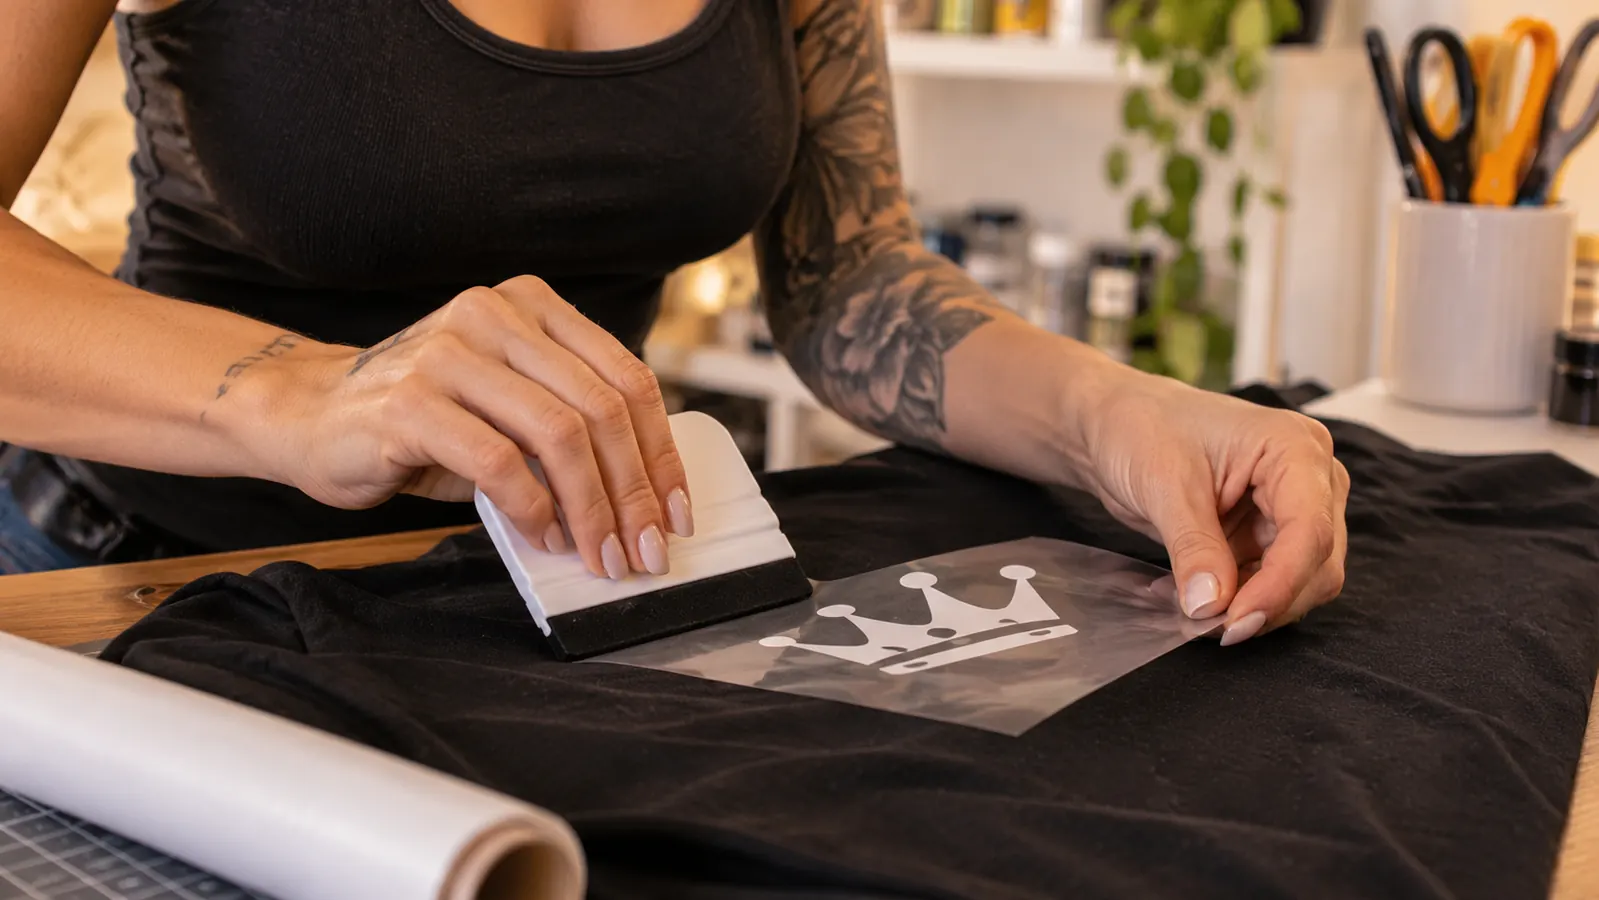
Once the design is weeded, I use the scraper to burnish the vinyl onto the transfer tape. I lay the tape down, press the scraper across it in short strokes, and lift one corner to check. If a small piece lifts with the backing, I press it back down and burnish again. The scraper gives me a flat edge to press with, and it does not catch on the vinyl like my fingers can.
Then I lift the whole design with the transfer tape and place it on the shirt or decal blank. I press from the center out. I do not pull the tape up fast. Slow is the whole method here. The Cricut scraper helps me burnish the design onto the blank, and the spatula helps me lift the finished piece from the mat without curling a corner.
I learned the hard way that a small design can look fine on the mat and then stretch when I apply it. The fix is not a different machine. It is pressing the vinyl down before I lift the tape, and checking the edges before I call it done. If a letter starts to lift, I lay the tape back down and burnish that spot again. Small designs do not forgive a rushed application.
The scraper is also what I use to press the design flat on the shirt before the tape comes off. I go over it in four directions, then check each corner with my thumb. A corner that lifts early will pull a small letter out of line, and once that happens the shirt becomes a practice shirt. I have a small stack of those in the closet, and every one of them taught me the same lesson about going slower at the end than at the start.
What Else Helps
Good light matters more than any tool. I use a desk lamp angled low across the mat. The shadow shows me the edges of the vinyl. If I cannot see the cut line, I am guessing. I also turn off the overhead light for a minute when I am working on a dark vinyl scrap. The angled lamp makes more difference than a brighter room.
I keep a scrap sheet of vinyl under my hand. It gives my fingers something to press without touching the design. A lint-free cloth helps too. Small weeding is a close-up job, and the tools only do their part if I can see what I am doing. I also keep a small dish for the waste pieces so they do not drift back onto the mat and stick to the design.
A pair of reading glasses helps me more than I expected. I am 52, and the tiny inside cuts are easier to see with a little magnification. The Cricut set stays within reach, but the light, the scrap sheet, and the glasses are what let me use it well.
Where It Falls Short
The set does not come with a case, so the tools live in a cup on my pegboard. That works for me, but if you carry your tools to a class or a market, you will want a small pouch. I also would not call the scissors a substitute for a good pair of fabric shears. They are for vinyl and paper, and they stay in the craft room.
If you already have a weeder you love, the Cricut set will not transform your results overnight. The tools are simple. The practice is what changes the outcome. What the set does give you is a weeder, tweezers, scissors, scraper, and spatula in one place, so you are not hunting for a tool while a tiny letter curls up on the mat.
A Practice Routine That Saves Vinyl
I keep a scrap of vinyl near the mat and cut a few small shapes before I start a real project. A star, a letter, a tiny circle. I weed those first. It warms up my hands and lets me check the weeder and tweezers on a piece that does not matter. By the time I get to Nia's team decal, I know how the vinyl is behaving.
This is also how I test a new roll. Some vinyl is tackier than others, and the same pull that works on one sheet will stretch another. A two-minute practice piece tells me whether I need to slow down or whether the weeder will glide. I wish I had done this at the start instead of learning on a shirt I had already pressed.
Keep the tiny letters, not the workaround
If you cut small decals for team shirts, labels, or gifts, the Cricut Basic Tool Set is the kit I keep on the table. The weeder and tweezers do the fine work, and the scraper finishes the job.
Amazon Check Today's Price on Amazon →