
I ruined a stack of vinyl decals the first time I tried to cut a batch for Nia's volleyball team. The letters lifted at the corners. The backing curled. I had picked a font with thin strokes and set the cut too shallow, and every one of those cups looked homemade in the bad way. That was four years into cutting vinyl, not four weeks, which is the part that still stings.
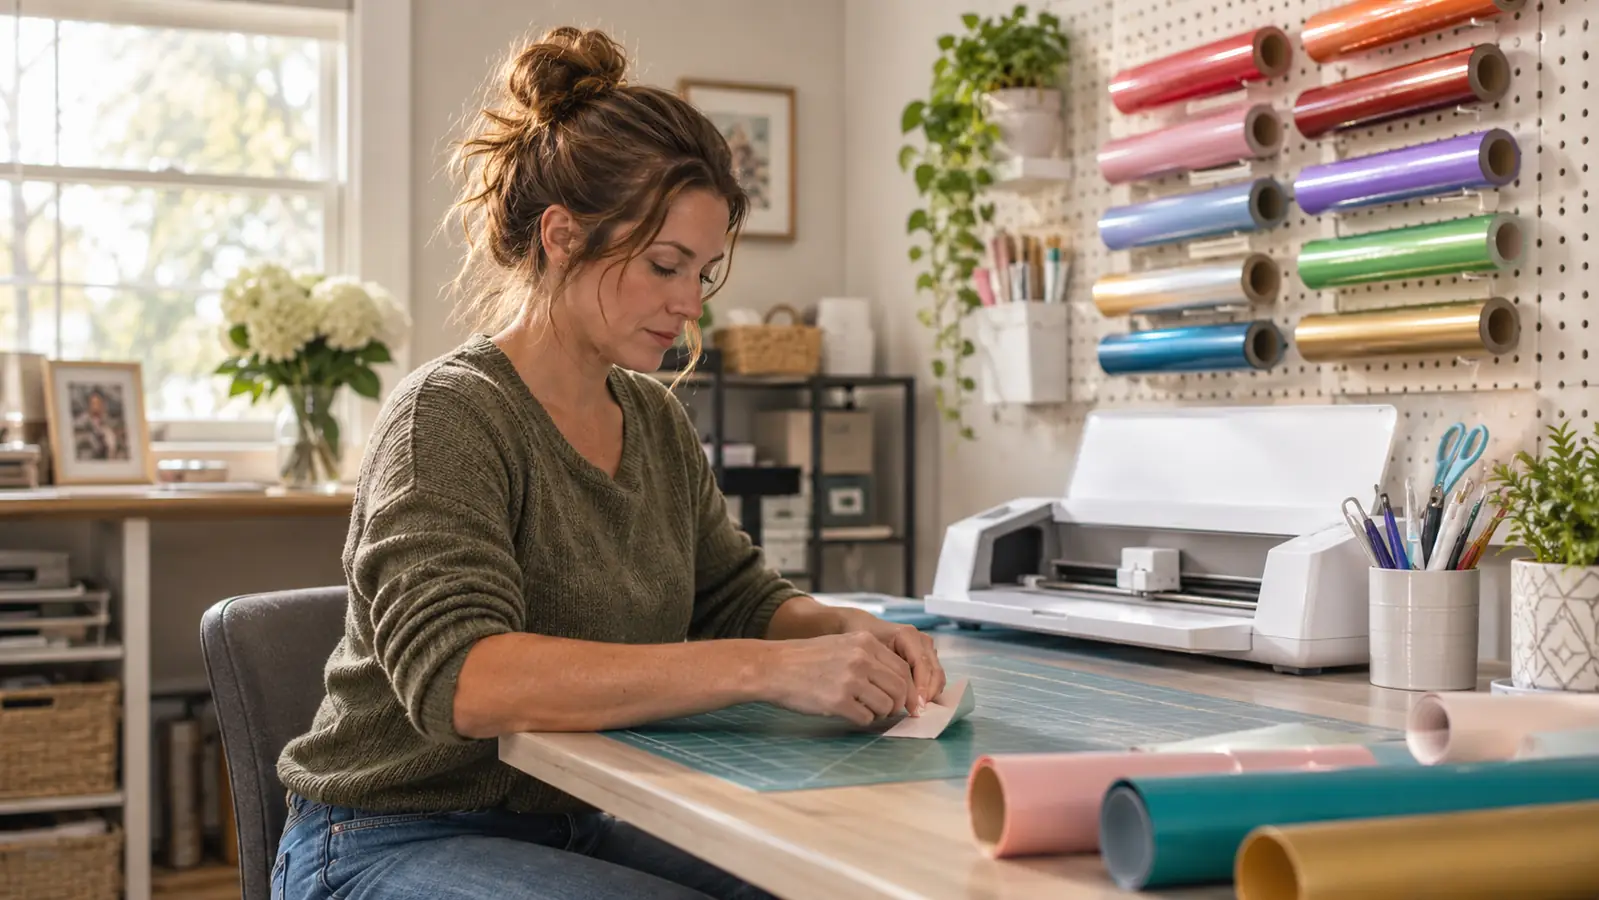
What fixed it was not a new font or a new squeegee. It was slowing down and using the Cricut Maker 4 the way the machine is actually built to be used. The Maker 4 is a smart cutting machine, 22.1 inches wide by 7.1 inches deep by 6.2 inches tall, with 270.25 square inches of active surface. I set it on my long folding table in the spare bedroom, put the vinyl rolls on the pegboard above it, and stopped treating every cut like a race.
If you are cutting decals for cups, car windows, school folders, or a Saturday market table, the steps are the same. The mistakes are the same too. This is the order I use now, with the settings I check, the test cut I do not skip, and the places where the Cricut still makes me pay attention.
A clean decal starts with a machine that tracks every pass
The Cricut Maker 4 handles Smart Vinyl and matless vinyl from the included sampler, and the fine-point blade is the one I use for most decal work. If you want the machine that has replaced my old setup, start here.
Amazon Check Current Availability on Amazon →Step 1: Pick the vinyl and set up the cut file
For a decal that will live on a tumbler or a car window, I use permanent adhesive vinyl. For a wall or a laptop lid that may change with the season, I use removable. The Cricut Maker 4 works with 300+ materials, but decal vinyl is not the place to get fancy. A mid-weight permanent vinyl cuts cleanly and weeds without tearing. The materials sampler that comes with the machine includes Smart Vinyl and matless vinyl, which is enough to run a test batch before you commit to a full roll.
I learned that the hard way on a roll of cheap vinyl I bought at a discount store in September. It looked fine on the tube. It fed fine. It cut fine. Then it sat on the backing for two days before I got around to weeding, and half the letters had crept back down into the sheet. Now I cut, weed, and apply inside the same afternoon whenever I can. Vinyl is not a project you start on Tuesday and finish on Friday.
In Design Space, I open a new project and set the canvas to the size of the decal I need. Nia's team wanted 3 inch numbers for water bottles, so I made a 3 inch tall text box and kept the strokes at least a quarter inch thick. Thin strokes are where beginners lose letters. If a font looks wispy on screen, it will look worse after weeding.
I also mirror the design only when I am cutting iron-on. For adhesive vinyl, the design stays as it reads on screen. That one mistake has cost me more vinyl than any blade issue. Check the preview before you send it. The preview shows the path the blade will take, and it is the last cheap chance to catch a backwards name.
Step 2: Load the vinyl straight and check the blade
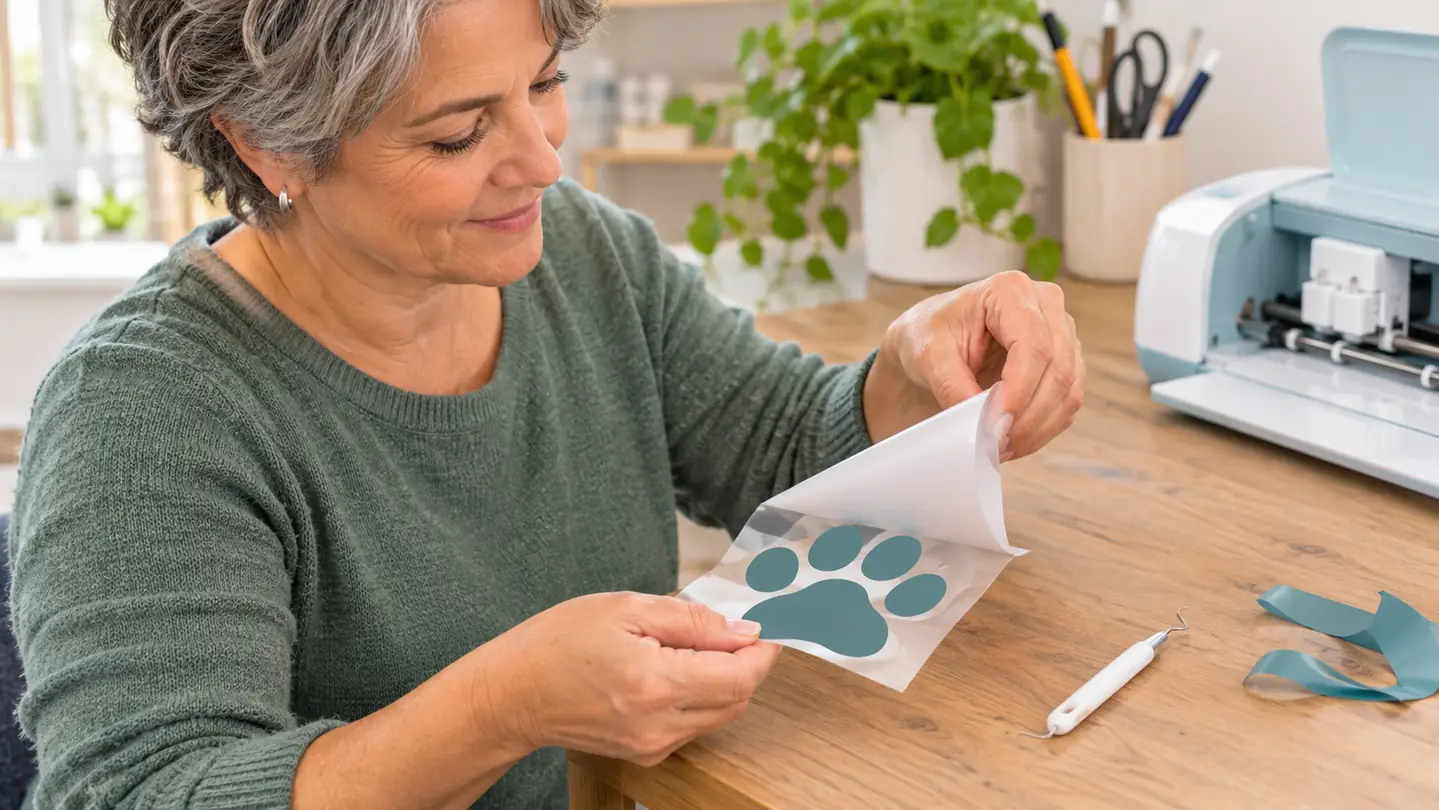
The Maker 4 is 22.1 inches wide, so it takes up most of a folding table. I leave the back edge clear so the vinyl can feed through without catching on a roll or a cup. With matless vinyl from the sampler, I feed a straight length in and let the machine hold it. If a piece is too short to feed, I save it for a test cut instead of forcing it.
I keep a small square ruler on the table and line the vinyl up against the feed edge before I close the carriage. On a Saturday in October I skipped that and fed a sheet in by eye. It went in at a slant, and all twelve name decals for a church fundraiser came out tilted by about an eighth of an inch. Nobody else noticed. I noticed on every single cup.
The fine-point blade comes with the bundle. I check it before every batch by pushing the blade housing down and looking at the tip. If the tip is dull or there is a tiny nick, the vinyl will tear instead of cut. A fresh blade is not a luxury. It is the difference between a decal that weeds in one pull and one that turns into confetti.
I lock the blade housing, close the carriage, and send the job from Design Space. The machine is automatic once the job starts, so my job is to make sure the vinyl is straight and the blade is seated. If the vinyl goes in crooked, every letter after it will be crooked too.
Step 3: Run a test cut before the real decal
I cut a one inch circle on the corner of every new sheet. It takes less time than reading this paragraph. If the circle lifts cleanly with the backing still intact, the pressure is right. If the blade barely marks the vinyl, the pressure is too light. If it cuts into the backing, the pressure is too heavy. On the Maker 4, I set the material in Design Space, not on a dial. The machine is automatic, so the setting you choose is the setting it uses.
For most permanent vinyl, the default vinyl setting is close. I still test because vinyl brands vary. A roll that sat in a hot car all summer can behave differently from a fresh roll. I keep a scrap bin beside the machine and use it for test circles. When I skip this step, I usually regret it on the last name in a batch.
If the test cut is ragged, I do not keep cutting and hope. I change the blade, slow the cut, or switch to a different vinyl. The Cricut will happily keep cutting bad decals all afternoon. It does not know your vinyl is old. You are the quality control. I write the date on the blade housing in fine marker when I put a new blade in, so that when a batch starts tearing in the middle of a busy week I can look at that date and know whether the blade is the suspect or the vinyl is.
Step 4: Weed the decal with a light hand
Weeding is where a clean cut becomes a clean decal. I use a weeding hook and a small pair of tweezers, and I work under a bright lamp. I peel the backing away from the vinyl, not the vinyl away from the backing. That keeps the letters flat on the transfer tape side and stops them from curling.
I start at a corner and go slow. For small letters, I use the hook to lift the inside of an O or an A, then pull the waste away in one piece. If the waste tears, the cut was not deep enough. If the letter lifts with the waste, the cut was too shallow or the blade is dull. Both problems show up here, not on the machine screen.
For a name with a small counter, like the O in Okafor, I hook the inside piece out first and set it on a scrap of backing. I used to lose those pieces in the pile and hunt for them with tweezers. Now they go in a shallow dish lid. Losing an O means recutting the whole name, and recutting a whole name for one letter is a waste of an afternoon.
I keep a lint-free cloth nearby and wipe the decal surface before transfer tape touches it. A speck of dust under transfer tape becomes a bubble you cannot fix. I also let the decal rest for a minute after weeding. Rushing this step is how a perfect cut turns into a crooked application.
The machine can cut the whole sheet in one pass. It cannot tell you the blade is dull. That is still my job.
Step 5: Apply transfer tape and burnish the decal
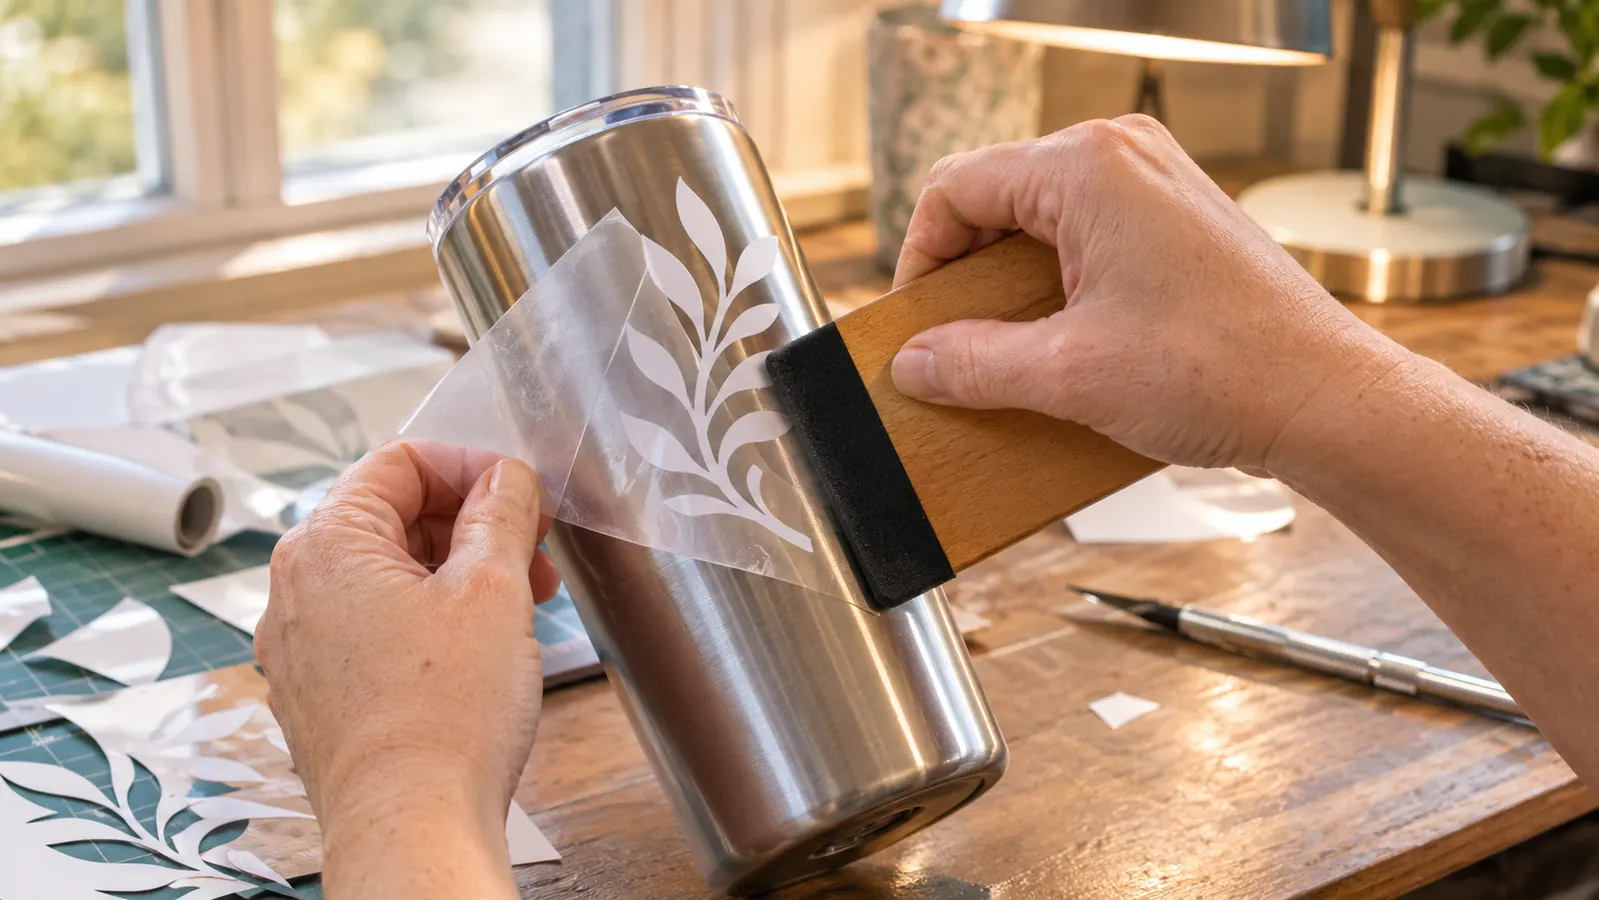
I cut a piece of transfer tape a little larger than the decal and lay it over the design. I burnish from the center out with a felt-edged squeegee. Then I flip the whole thing over and burnish the backing side too. The goal is to get the vinyl to stick to the tape, not to the backing.
I peel the backing away at a low angle, slowly. If a letter stays behind, I lay the backing back down, burnish that spot again, and peel again. Once the decal is on the tape, I place it on the clean surface and burnish again. For a tumbler, I work from the middle out and follow the curve. For a flat window, I use a straight edge to keep the decal level.
Then I peel the transfer tape away at a low angle, almost flat to the surface. If I pull straight up, I lift the corners. If I pull too fast, I stretch the vinyl. The Cricut cut the decal. The application is still my job.
Where It Still Fights Me
The Maker 4 is wide. At 22.1 inches across and 7.1 inches deep, it takes a dedicated spot. In my spare bedroom, that means the long folding table stays up. If you cut at the kitchen table and put the machine away every night, measure first. It is not a small gadget, and the 6.2 inch height means it needs clearance above it when the carriage moves.
I measured my table twice for that reason. My first table was 24 inches deep, which left almost nothing behind the machine for vinyl to hang off. I moved to a longer folding table in the spring and the whole job got calmer. The machine was never the problem. The furniture was.
Design Space is the other friction point. The machine is automatic, but the software still asks you to choose materials, size, and pressure. The free content library includes 3,000+ images and 100+ fonts, which is plenty, but the learning curve is real. I spent a week making test cuts before I trusted a full sheet. The machine did not fix my bad file. It just cut it faster.
The last honest drawback is blade wear. Vinyl is not hard on a blade compared with some materials, but a dull fine-point blade will ruin a batch quietly. I keep a spare blade in the pegboard bin and change it when test cuts start tearing. That is an ongoing cost, not a one-time setup.
What Else Helps
A few things make decal cutting more predictable. Keep your vinyl rolls flat and out of direct sun. A roll that has been leaning against a wall for months will feed crooked. Keep a fresh fine-point blade on hand. Keep a scrap bin for test cuts, and keep a notebook or a note on your phone with the settings that worked for each vinyl brand. The machine remembers some things, but it does not remember what your last batch taught you.
The Print-Then-Cut feature is worth learning if you want full-color stickers. It works with an inkjet printer, and it lets you print a design, then have the Cricut cut around it. That is a different job from a single-color vinyl decal, but it is useful for labels and school projects. The Maker 4 also works with 300+ materials, so the same machine can cut card stock and labels when the decal orders slow down. I like that I do not need a second machine for a school project.
The biggest help is still a test cut. No accessory replaces it. If you are cutting a batch of 20 decals, cut one first. If it weeds clean, cut the rest. If it does not, stop and fix the blade or the vinyl. That one habit has saved me more material than any tool on the pegboard.
The Maker 4 will cut the decal. The test cut is what makes it clean.
If you want the machine I use for vinyl decals, the Cricut Maker 4 with the fine-point blade and the materials sampler is the setup that has held up in my spare bedroom. Start with a scrap, then cut the real thing.
Amazon Check Current Availability on Amazon →