
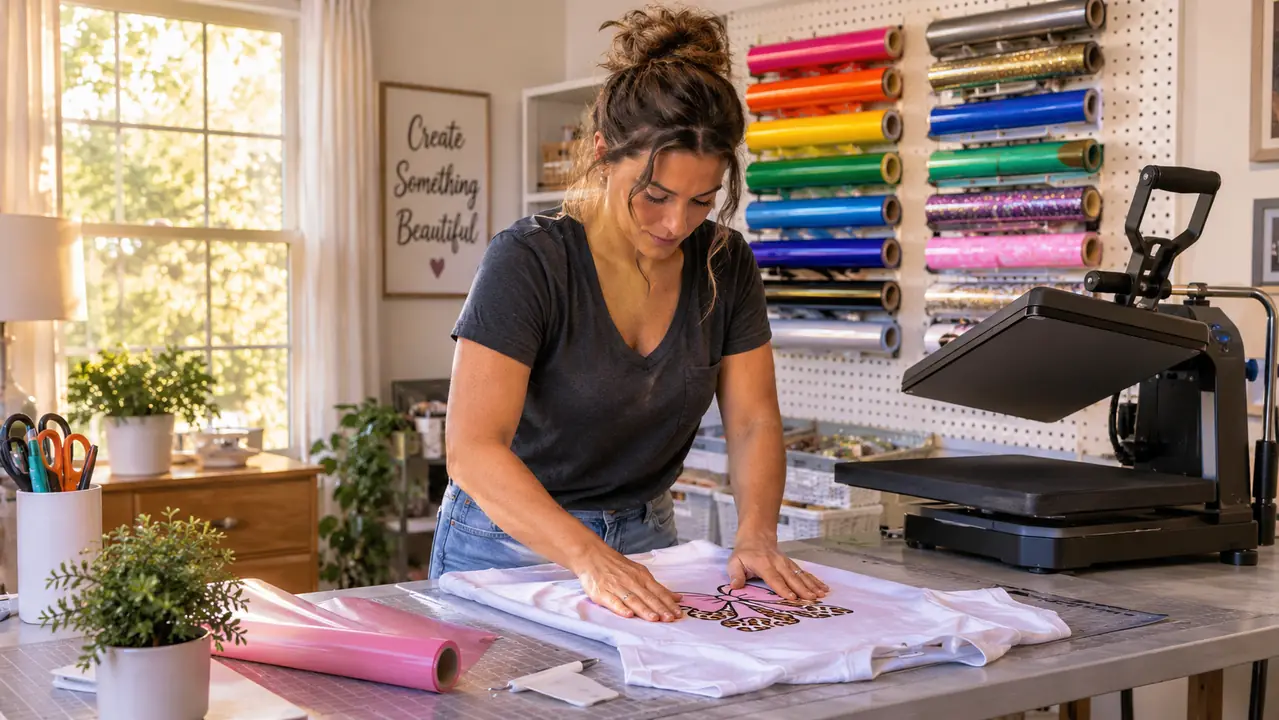
The first layered shirt I made looked fine on the table. Then it went through the wash and the top layer lifted at one corner, taking a small piece of the base layer with it. I had promised that shirt to a woman from church, so I unpicked what I could and started over on a fresh blank. What I had done was press two layers on top of each other and hope. Layering heat transfer vinyl is not complicated, but it is not forgiving either, and hope is not a step in the process.
Since then I have made a few hundred layered pieces at the folding table in my spare bedroom, mostly team shirts for my granddaughter Nia and her volleyball crowd, plus orders that come in through the Saturday market. The roll that stays on the pegboard through all of it is the HTVRONT HTV roll, the 12 inch by 8 foot one. It is polyurethane rather than the stiffer material I started on, it presses at 300 to 320 degrees Fahrenheit under medium pressure for 10 to 15 seconds, and it wants a minute or two of cooling before the carrier sheet comes off. Here is the order I do things in now, and where each layer usually goes wrong.
The base layer decides whether the second layer holds
The HTVRONT HTV roll gives you 12 inches by 8 feet of polyurethane vinyl to work with, presses at 300 to 320 degrees Fahrenheit under 5 to 8 kg of pressure for 10 to 15 seconds, and takes a second trip under the press without the edges going soft. Cut a test square from the end and you will know in ten minutes whether it suits your press.
Amazon Check Today's Price on Amazon →Step 1: Build the design so the layers have somewhere to sit
Open your cutting software and draw the design in the order it will sit on the shirt, biggest shape first. The large shape is the base. Every smaller shape rides on top of it. If you build it the other way around, with a thin detail piece underneath and the big shape on top, you end up pressing a sliver of vinyl with no fabric around it to hold heat, and the corners curl up like a dried leaf. I did that once with a school mascot, and the tail never sat flat no matter how many times I pressed it.
Give the top layer an overlap of about an eighth of an inch so it lands on the base layer instead of floating on bare fabric. That small overlap is what makes two layers read as one design rather than two stickers that happen to be near each other. It also gives the second press something solid to bond to, which matters more than people expect, especially on the thin outlines that sit around a big shape. If your outline was drawn to butt up exactly against the base, redraw it with the overlap before you cut, not after.
Then check the whole design against your mat. The roll is 12 inches wide and 8 feet long, so anything wider than 12 inches has to be built as two pieces and lined up by hand, which I did once for a church hall banner and would not repeat. Everything outside the cut area becomes scrap, so nest the shapes close together and use the length of the roll rather than spreading out sideways. And mirror the design before you cut, because you are cutting the back of the vinyl, not the front, and an unmirrored design cannot be fixed once it is weeded.
Step 2: Cut and weed each layer as its own piece
Cut each layer as a separate job. Do not nest two layers into one pass and plan to sort them out afterward, because you will spend twenty minutes at the table separating pieces that look almost identical. Set the blade and pressure for the vinyl you are using, run a small test cut first, and check that the blade has scored the vinyl cleanly without cutting through the carrier sheet underneath. If the carrier is sliced, the layer shifts during weeding and your alignment is lost before the shirt is even on the press.
Weeding is where thin text and small detail earn their reputation. Use a hook, work at an angle, and keep the carrier sheet attached underneath the whole time. If you weed with the vinyl loose on the table, the piece stretches and the letters go crooked before they ever reach the shirt. On a busy week I weed in batches, all the base layers first, then all the top layers, so my hands stay in the same rhythm and I am not switching back and forth between jobs.
Lay the weeded layers out in the order they will be pressed, carrier side down, and keep them apart. My spare bedroom gets dusty and a stray thread under a layer shows up in the finished shirt as a bump you cannot press out. If you are doing several shirts, label the back of each carrier with a pencil. Two layers of a volleyball design look almost the same on the table and completely different once they are on the chest of a shirt, usually in the wrong order.
Step 3: Press the base layer and let it cool properly
Preheat the shirt for two or three seconds to pull the moisture out, then place the base layer and press at 300 to 320 degrees Fahrenheit under medium pressure, around 5 to 8 kg, for 10 to 15 seconds. Medium pressure means firm enough that the press closes with a little resistance, not so hard that the shirt is flattened into the pad. If you are guessing at pressure, err on the lighter side and press a second time rather than crushing the fabric and leaving a shine around the design.
Set the shirt aside for one to two minutes, then peel the carrier sheet. Peeling while the vinyl is still hot is how edges stretch and how thin lines go wavy. This is the step I used to rush, and it is the step that caused most of my early failures. Polyurethane will forgive a lot of things, but it will not forgive being pulled while it is still warm, and the damage shows up later, not on the table where you could fix it.
Do not put the second layer on while the base is still hot. Let the whole thing come back to room temperature first. A hot base layer moves slightly under the cover sheet, the second layer follows it, and suddenly your top shape is a quarter inch off and you are peeling it back off a shirt you have already pressed twice. If you are working through a stack, press all the base layers, let them cool together, then come back for the second pass.
300 to 320 degrees, medium pressure, 10 to 15 seconds, then a full minute of cooling before the carrier comes off. Every layered shirt I ruined, I ruined by skipping the cooling.
Step 4: Line up the second layer before anything gets pressed
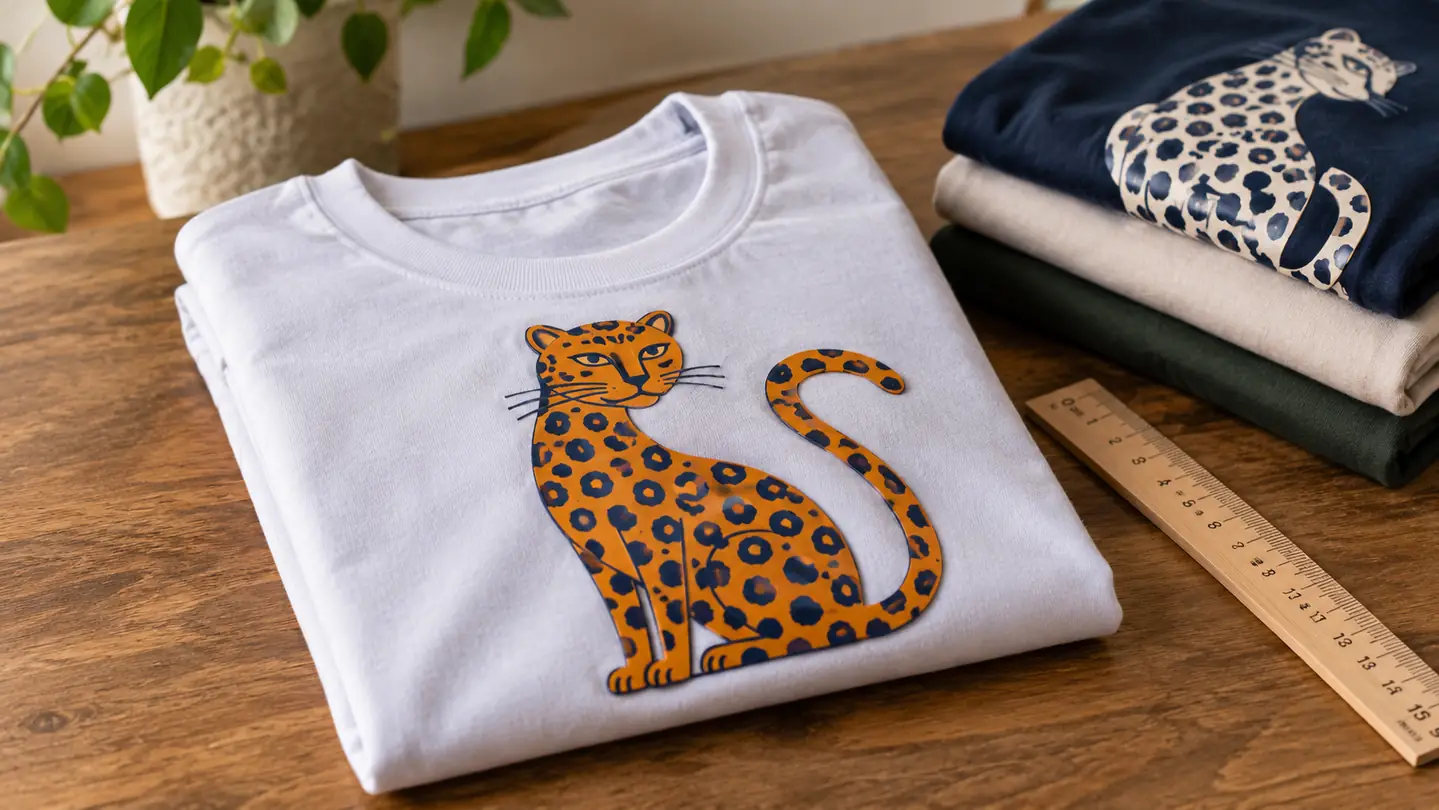
Place the second layer carrier side up, using the registration marks you left in the design. Stand up and look at it straight on rather than from your seat at the table. A design that looks centered from six inches away is often half an inch off when you step back, and once it is pressed you are not moving it. I check the first shirt of any new design with a wooden ruler and trust my eye after that.
Cover the entire design with a cover sheet, not just the new layer. The first layer is going under the press again either way, and bare vinyl against a hot platen picks up a shine that does not come off. A Teflon sheet or a piece of parchment works. I use the same Teflon sheet until it starts to brown at the corners, then it gets demoted to the ironing board and a fresh one comes out of the packet.
Press the whole stack at the same settings, 300 to 320 degrees Fahrenheit for 10 to 15 seconds at medium pressure. If the top layer is a small piece sitting inside a large base, give it the full time anyway. Short presses on small pieces are the reason lettering goes missing after a month of wear, and the person who notices is never you, it is the customer, and they notice on the morning of the event.
Step 5: Final press, cool, peel, and check the edges
One more press with the cover sheet in place, same temperature and pressure, 10 to 15 seconds. This final pass is not decoration. It pushes the second layer fully into the first and flattens the overlap line where the two meet, which is the line that catches the eye on a finished shirt if it has not been pressed properly. On a two-layer design the overlap is the first thing a customer runs a thumb over, so give it the time.
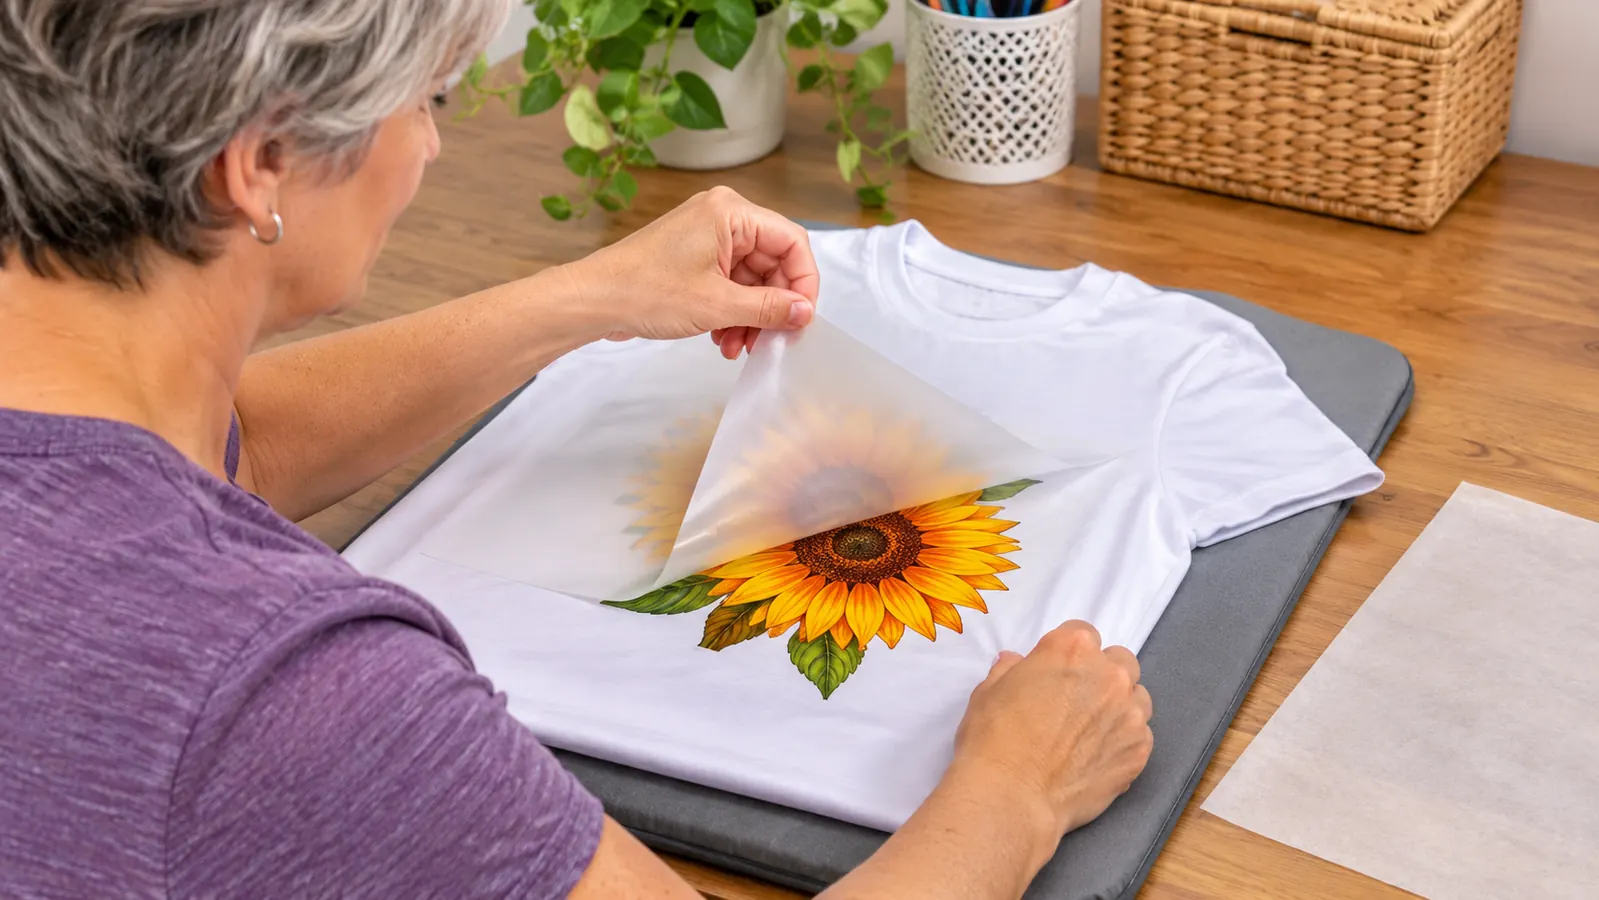
Let the shirt cool for one to two minutes, then peel the last carrier slowly from a corner, folding it back on itself rather than pulling straight up. If a corner of the vinyl lifts with the carrier, put the cover sheet back down and press that spot for five seconds, then peel again once it has cooled. Pulling straight up on a warm carrier is how you stretch a shape you spent twenty minutes weeding and get a wavy outline for your trouble.
Run a fingernail along every edge. Any edge that catches is an edge that will lift in the wash. Fix it now with a short press under the cover sheet rather than after the shirt has been worn twice and come back to you. Then wait a full day before the first wash, turn the shirt inside out, and keep it out of a hot dryer if you want the layers to stay exactly where you put them.
What else helps
Fabric matters as much as the vinyl on a layered design. HTVRONT lists cotton, polyester, cotton blend, athletic mesh and lycra or spandex as suitable, and I have used it on all of them at one time or another. Athletic mesh is the one that needs care, because the holes let heat straight through and it is easy to scorch the surface. Press mesh at the lower end of the temperature range, keep the cover sheet on, and lift the press a few seconds early rather than late.
Test on an inside hem before you commit a whole design. Cut a one inch square, press it at the settings above, let it cool, and peel. If it comes off clean and the fabric underneath is not glazed, your press and your timing are right. That ten minute test has saved me more shirts than any other habit, and it costs a square inch of a roll that runs 8 feet long, which is nothing.
Store the roll upright or rolled loosely, never folded. A crease in the vinyl shows up in the finished design as a line that no amount of pressing removes. Keep it out of direct sun and away from the radiator, and wipe it down before cutting if it has been hanging on the pegboard a while. Dust under a layer turns into a raised speck that you cannot press flat once the carrier is off and the shirt is finished.
When a layer does lift after a wash, do not throw the shirt out. Cover the area, press it again at the same settings, and let it cool under a book or a weight. It holds most of the time, and the times it does not, the shirt becomes a workshop rag and a reminder to slow down on the cooling step. Ray wears a couple of those around the house on weekends and claims they are the most comfortable ones I have made.
Get the base layer right and the rest of the layering follows
The HTVRONT HTV roll is 12 inches by 8 feet of polyurethane vinyl, pressed at 300 to 320 degrees Fahrenheit under medium pressure for 10 to 15 seconds, with a one to two minute cool before you peel. Start with a test square on an inside hem and work up to the layered design from there.
Amazon Check Today's Price on Amazon →