
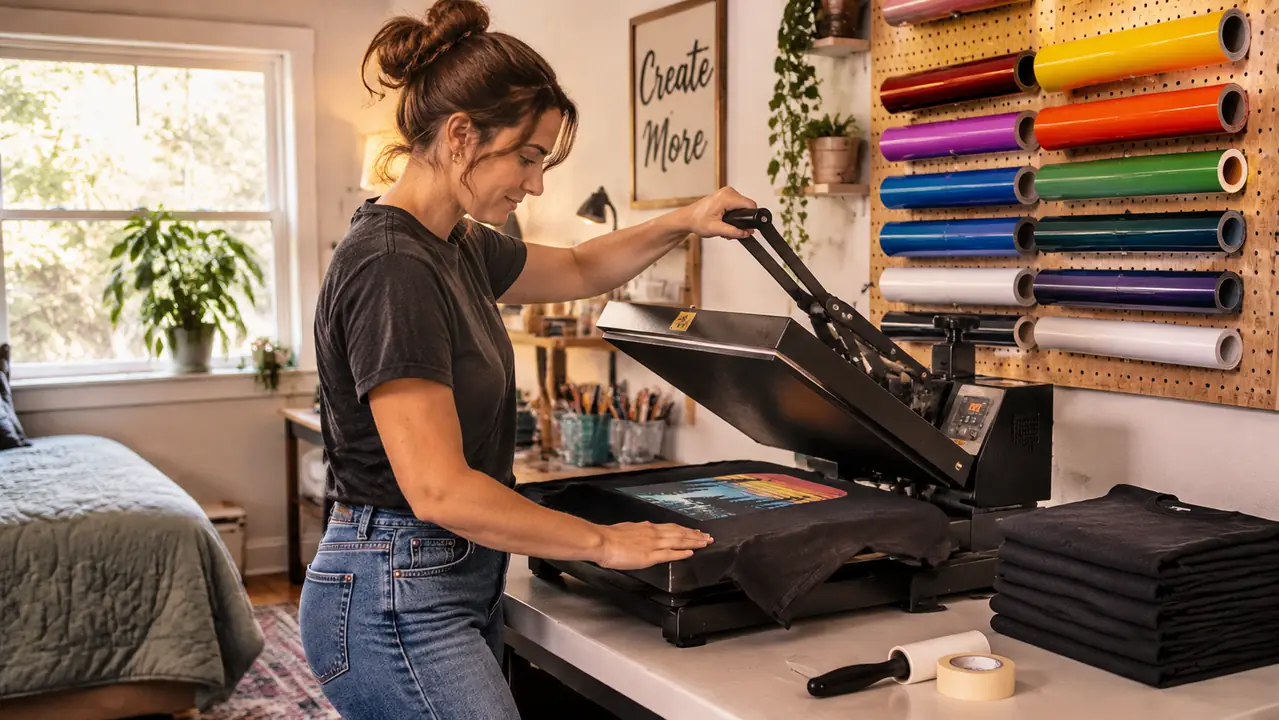
The first shirt I pressed with heat transfer vinyl came out with a dull, shiny rectangle where the letters should have been. I had the temperature too high, I held it too long, and I peeled it while it was still hot because I was impatient. Four years and a few hundred shirts later, I still keep that one folded in a drawer. It is a useful reminder that a heat press does not care how good your design looks. It only cares whether the heat, the time and the pressure were right.
The press I use now is the Fancierstudio Digital Heat Press, the 15 x 15 model. It measures 33 inches long, 23 inches wide and 20 inches tall, so it takes up real estate on the folding table in my spare bedroom. It runs on 110 volts and pulls 1800 watts. The controller sets temperature anywhere from 0 to 699 degrees F and time from 0 to 999 seconds, and the heat platen has a Teflon coating that has saved me more than once when a shirt shifted under the carrier. The machine came with a 15 by 15 heat press sheet, and I keep it folded on the shelf under the table where I can reach it without stepping away.
Here is the routine I use now, start to finish, in the order I actually do it.
Twelve seconds of guessing can ruin a shirt you already weeded
The Fancierstudio 15 x 15 gives you a real temperature setting and a timer that counts in seconds, so the numbers that worked on Monday are the numbers you use on Saturday. That consistency is the whole reason I stopped pressing shirts with a household iron.
Amazon Check Today's Price on Amazon →Step 1: Give the Press Its Own Outlet and a Table That Does Not Wobble
The Fancierstudio is 33 inches long, 23 inches wide and 20 inches tall, which is more table than it sounds once you add a stack of blanks, a lint roller and a notebook. Mine sits at the end of a long folding table against the wall, at a height where I can bring the platen down without bending over and without reaching up. If your table wobbles, fix that before you press anything. A press that shifts halfway through a count moves the design with it, and you will not know until you peel.
The machine runs on 110 volts and 1800 watts, which is a lot to ask of one household circuit. Plug it straight into a wall outlet and let it have that circuit to itself. I tried running mine on the same strip as my vinyl cutter once, and I spent the rest of the afternoon wondering why the readout kept dropping. The press needs a few minutes to come up to temperature, so I switch it on before I start weeding anything. By the time the first design is ready, the platen is where it should be.
While it warms, prep the shirt. Run a lint roller over both sides, because one stray fiber under the vinyl becomes a permanent bump that you will see in every photo of that shirt. If the blank has been folded in a drawer for months, press it flat for three to five seconds with nothing on it. That pulls the moisture out and takes the crease out at the same time. Cotton and 50/50 blends want different settings, so sort your stack by fabric before you start rather than in the middle of a run with the platen already hot.
Step 2: Set the Temperature and Time Before You Touch the Vinyl
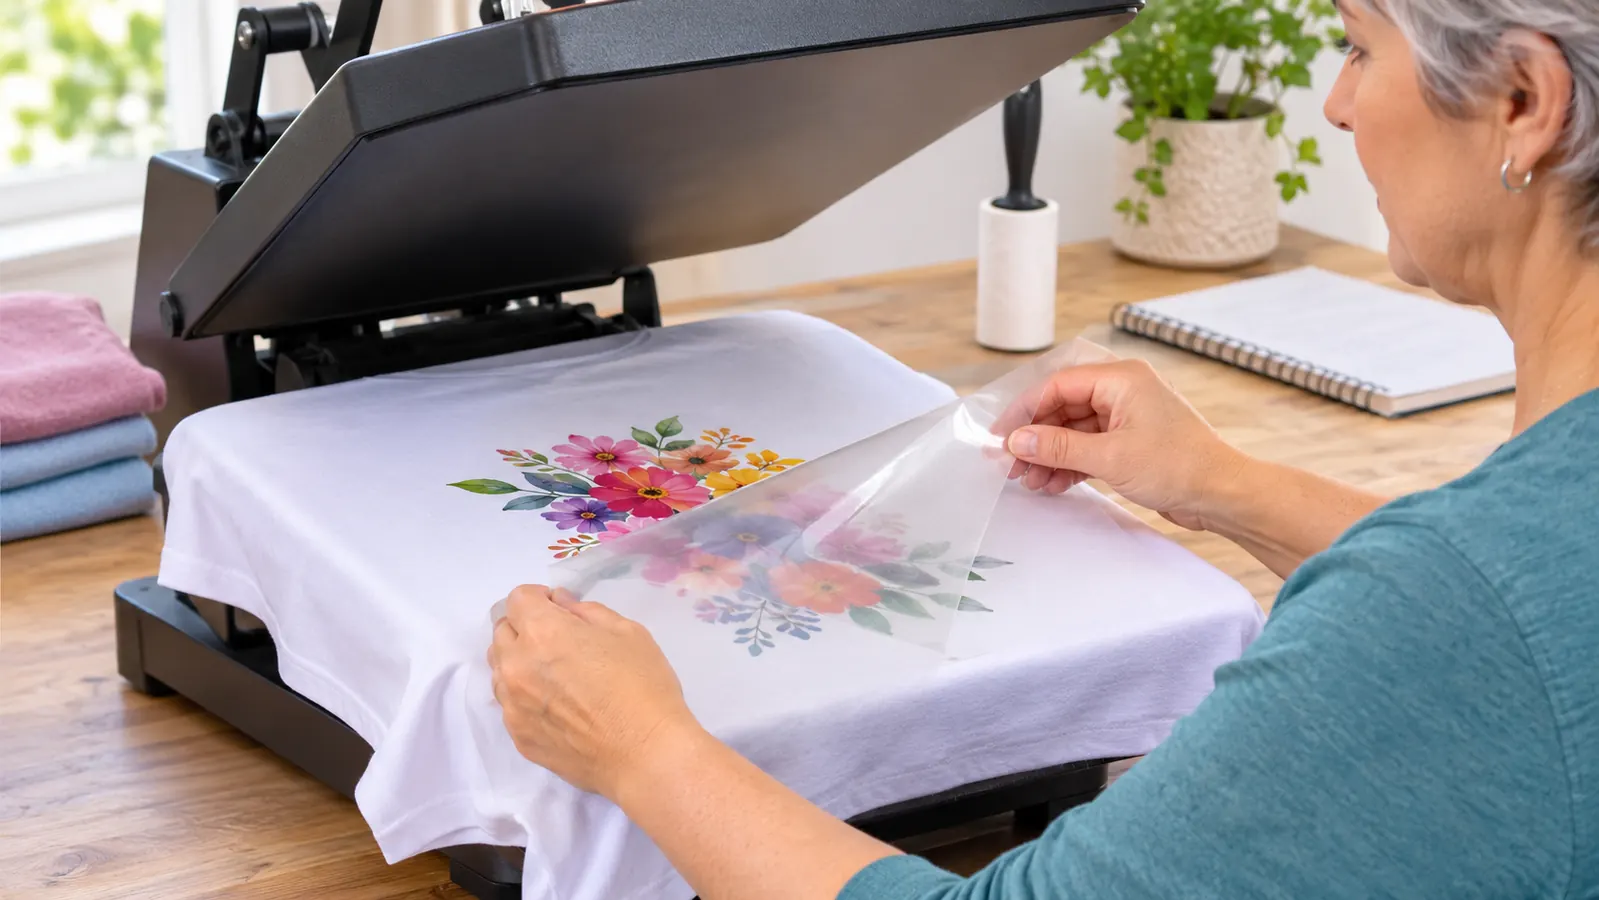
The controller on this press sets temperature from 0 to 699 degrees F and time from 0 to 999 seconds, and the listing gives an upper temperature rating of 500 degrees F. Most heat transfer vinyl wants somewhere near 305 degrees F for 10 to 15 seconds, but the number that matters is the one printed on the roll or the sheet that came with your vinyl. Makers change their carriers. A vinyl that peeled clean at 305 last year may want 315 now, and the only way to know is to read the sheet that came in the box.
Set the temperature first and let the platen settle. Then set the time. I write both numbers on a strip of masking tape stuck to the table, along with the name of the vinyl and whether it is a warm peel or a cold peel, because by the tenth shirt I will not remember. The gap between 305 and 320 degrees looks small on a readout. On a dark shirt it is the difference between a soft print and a scorched shine that no amount of repressing will fix.
Test on a scrap before you commit to the real thing. Cut a two inch square of the same vinyl, press it onto the inside hem of a spare blank using the settings you just wrote down, and peel it the way the maker says to peel it. If it lifts clean with no carrier ghost and no shirt fibers stuck in the adhesive, you are ready. If the edges curl, add five seconds before you add heat. Time fixes more vinyl problems than temperature does, and it is far easier to undo.
Step 3: Place the Design Once, Then Leave It Alone
The pressing area is 15 by 15 inches, which handles a full adult front print with room to spare and a youth size with a lot of room to spare. A wide back print on an adult 2XL will need two passes, so mark the center of the shirt with a pin before you start and the second pass will line up with the first. Two even passes beat one crooked one, every time.
Center the design under the platen, not on the table. Fold the shirt in half lengthwise and press a crease with your fingers, then line the design up against that crease. Measure down from the collar if the design has a top edge that has to sit level across the chest. Then keep your hands off it. Every time you lift the vinyl to check, you risk catching a corner on the carrier and dragging the whole design an inch to the left.
Watch for seams, buttons, zippers and pockets. Anything raised under the platen creates a low spot somewhere else, and that low spot is where the vinyl will fail first. Small flat items are easier than shirts, and the listing recommends this press for bags and mouse pads as well as t-shirts, so test one of those with a scrap square before you commit a whole order. When the design is where you want it, lay the included 15 by 15 heat press sheet over the top and press.
Step 4: Press, Hold, and Wait the Full Count
Bring the platen down and hold it. Medium to firm pressure is what most heat transfer vinyl wants, the kind where you feel the shirt compress and the platen stop moving. Then hold for the full count on the timer. Do not lift early to check. Do not let the platen slide sideways while it is down. If you are pressing a stack of twenty shirts, this is the part where you will want to speed up, and it is also the part where speeding up costs you shirts.
When the timer ends, lift straight up and leave the shirt on the lower platen. Peel it the way the vinyl maker says to peel it. Some carriers want a warm peel within a few seconds, some want the shirt to cool completely, and peeling at the wrong moment is how you get letters that lift at the corners. If the carrier fights you, stop pulling. Lay it back down, close the press for another three seconds, and try again.
Move the finished shirt to a flat surface to cool. Not over the back of a chair, and not folded onto itself. Vinyl is still soft when it comes off the press, and a fold pressed into it while it cools will stay there permanently. I keep a clean cotton towel on the far end of the table and lay shirts there in a single layer while Ray stacks the cool ones.
Step 5: Repress, Then Keep the Platen Clean
Once the shirt is cool and peeled, put the sheet back over the design and press it again for three to five seconds. This second press settles the adhesive down into the weave, and it is the step most people skip. I skipped it for a year. The shirts that came back to me with lifting edges were almost always the ones I had not repressed, and it takes less time to do than it does to explain to someone why their shirt is failing.
Keep the platen clean. The Teflon coating helps a great deal, but a lint ball or a bit of stray adhesive from the last shirt will transfer onto the next one. I wipe mine with a dry cloth every ten shirts or so, and if I have been pressing something dark I press a scrap of plain cotton once and let it lift off any residue before I start a fresh run. That single habit has done more for my finished shirts than any tool I have bought.
Tell whoever is wearing the shirt to turn it inside out, wash it cold, and skip the fabric softener. Never iron directly on the vinyl. If a shirt needs a touch up, iron the fabric from the inside with the shirt turned inside out. Almost every peeling complaint I have had came back to a hot dryer, not to the press, and once I started putting a small care card in with each order the complaints mostly stopped.
What Else Helps
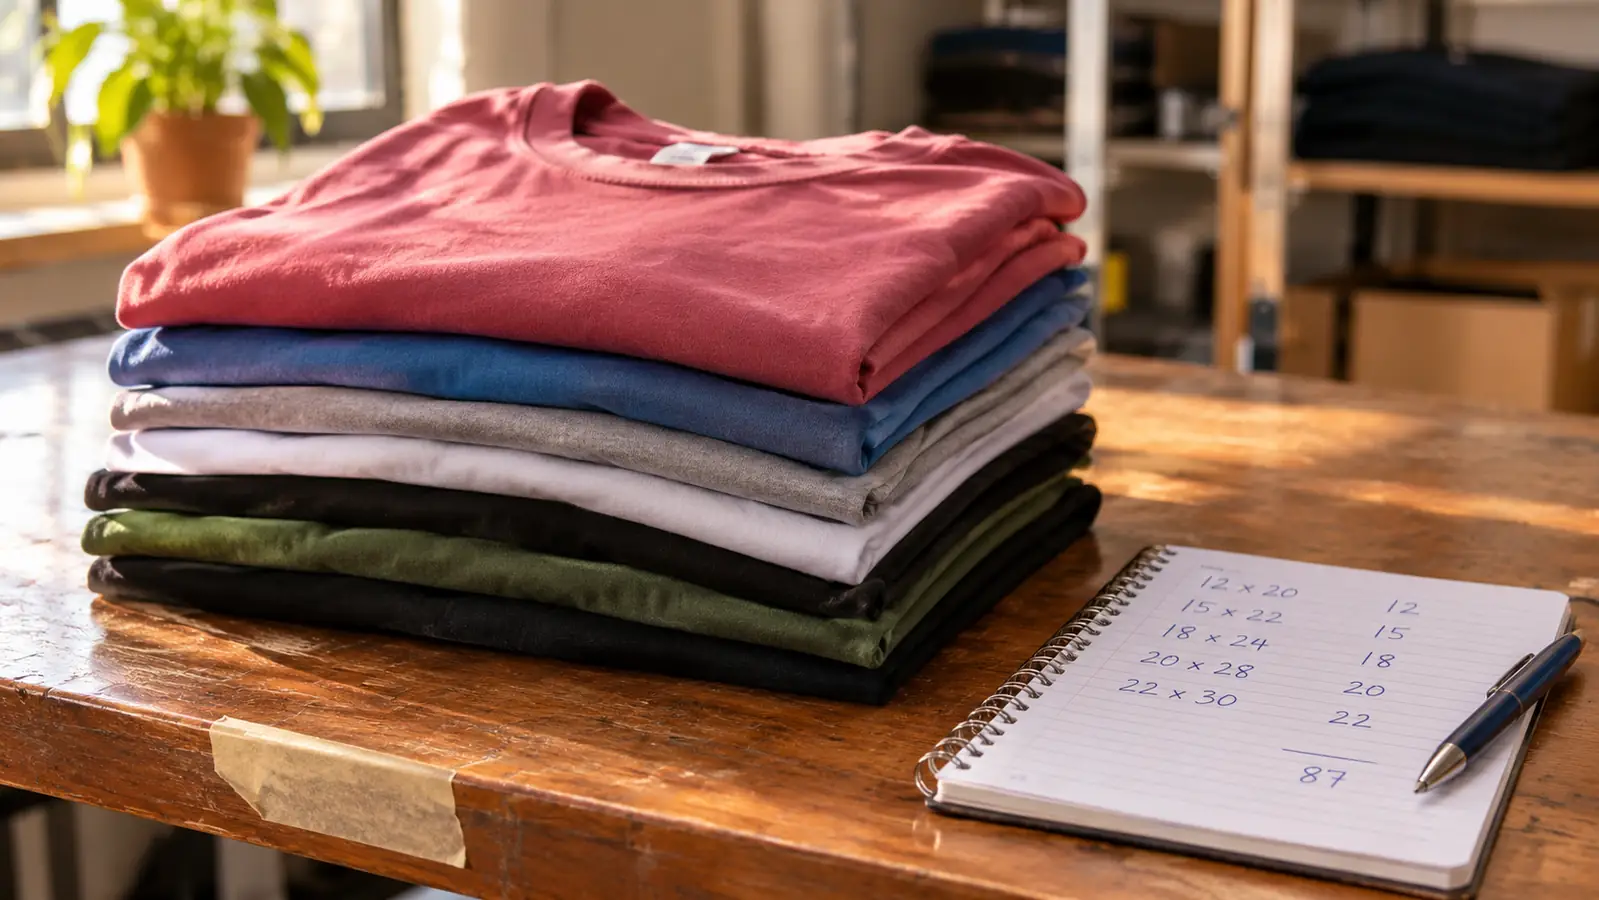
A notebook beats memory. I write down the vinyl name, the temperature, the seconds, the pressure I used and the garment, and after a few months that notebook is more useful than any chart online because every entry is a setting that worked on my press, on my table, in my humidity. When I open a new roll I start a new page rather than assuming last year's numbers still apply.
Keep a bin of scrap blanks for testing and cut a test square every time you open a new roll. Vinyl sits in a drawer and picks up dust. It also ages. A roll that has been open for two years will not behave like a fresh one, and you want to find that out on a scrap rather than on a team shirt with a number pressed on the back that you now have to redo.
A second pair of hands matters on a big run. Ray takes the cooled shirts and stacks them while I load the next one, and we get through a volleyball team's worth of shirts in an evening without either of us rushing the count. If you are pressing alone, do it in batches of five and set the stack aside between batches so you are not tempted to shave seconds off the timer.
Keep the paperwork together. The press carries a three month warranty, so the receipt and the manual live in the same drawer, and if anything ever sounds wrong I have the number I need without digging through email. Give the machine a few minutes to cool before you unplug it, wipe the platen one last time, and cover it so dust does not settle on the coating between market weekends.
305 degrees, twelve seconds, firm pressure, full count. Those four numbers, written on a strip of masking tape, have saved more shirts than any tutorial I have read.
The shirt you sell should not depend on a good guess
An iron will not hold a steady temperature across a 15 inch print, and it will not tell you when the time is up. The Fancierstudio does both, and the 15 by 15 platen handles a full front print without repositioning halfway through. That is the difference between a shirt you can hand to a customer and one you keep for yourself.
Amazon Check Today's Price on Amazon →